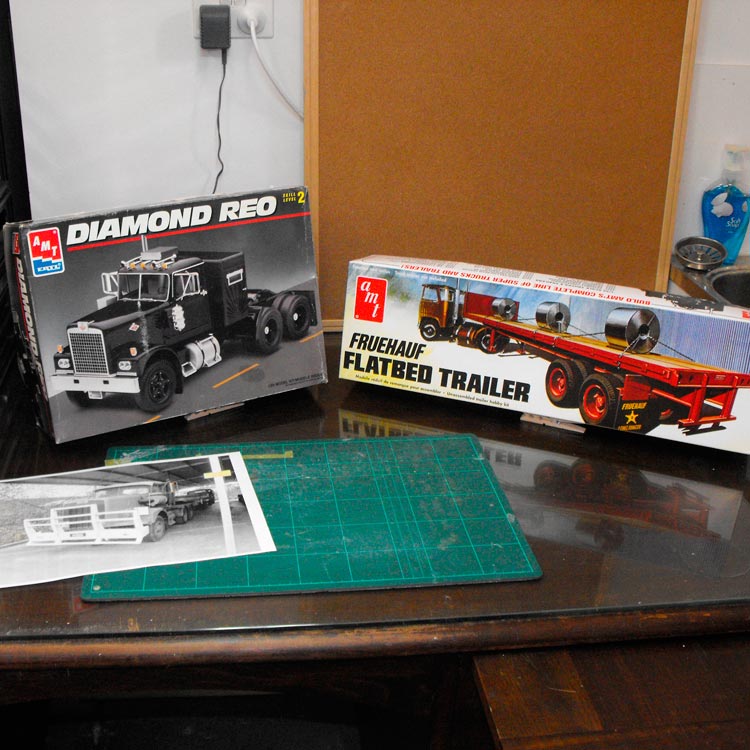
The kit parts untouched, and slightly modified.
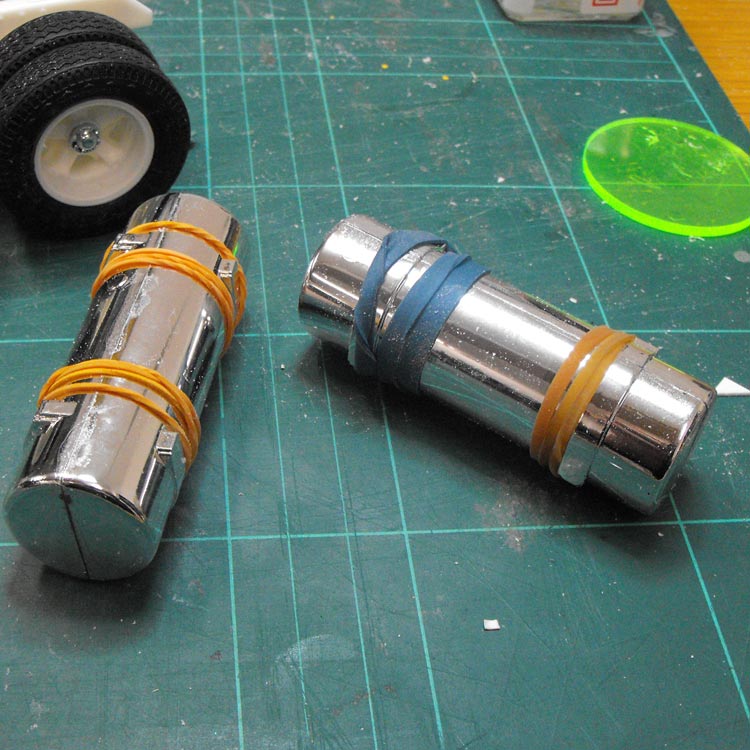
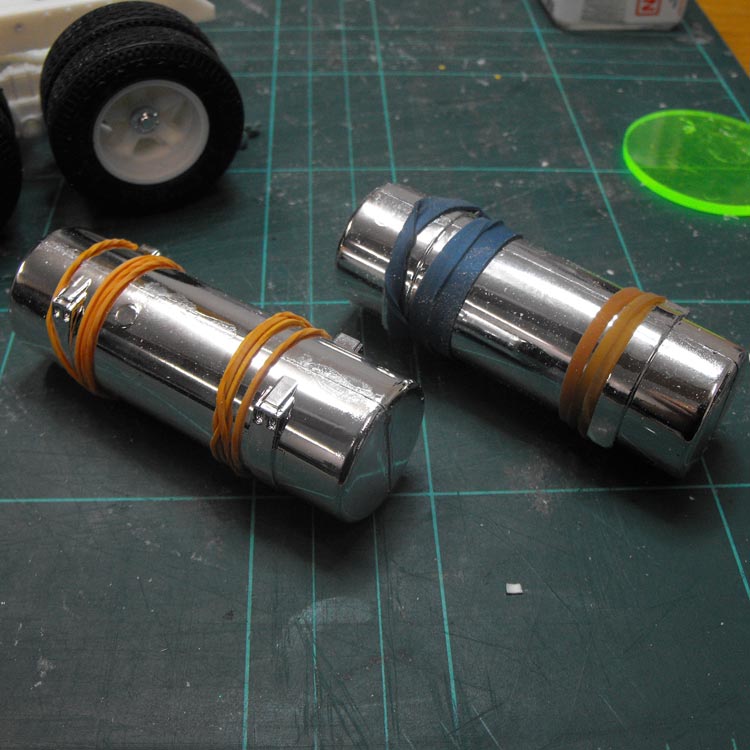
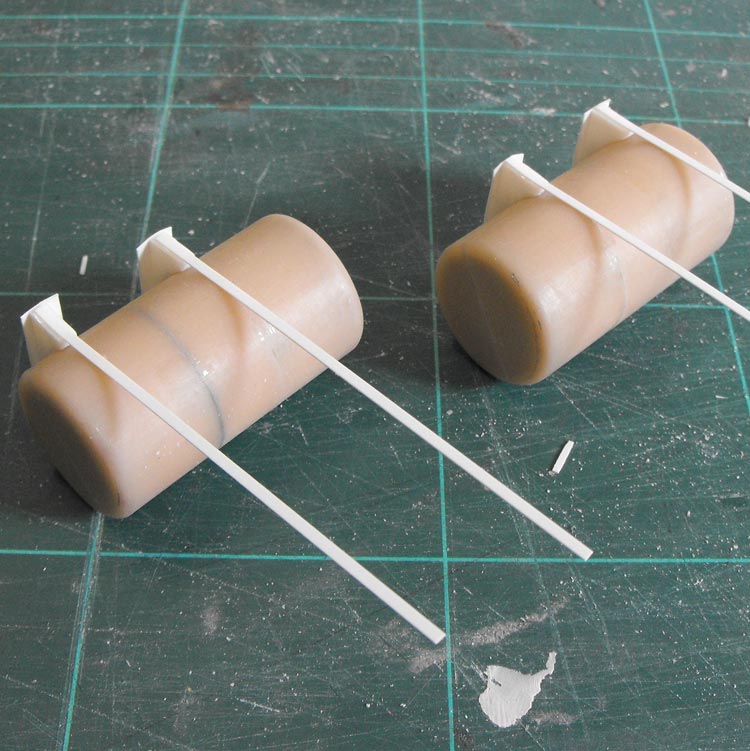
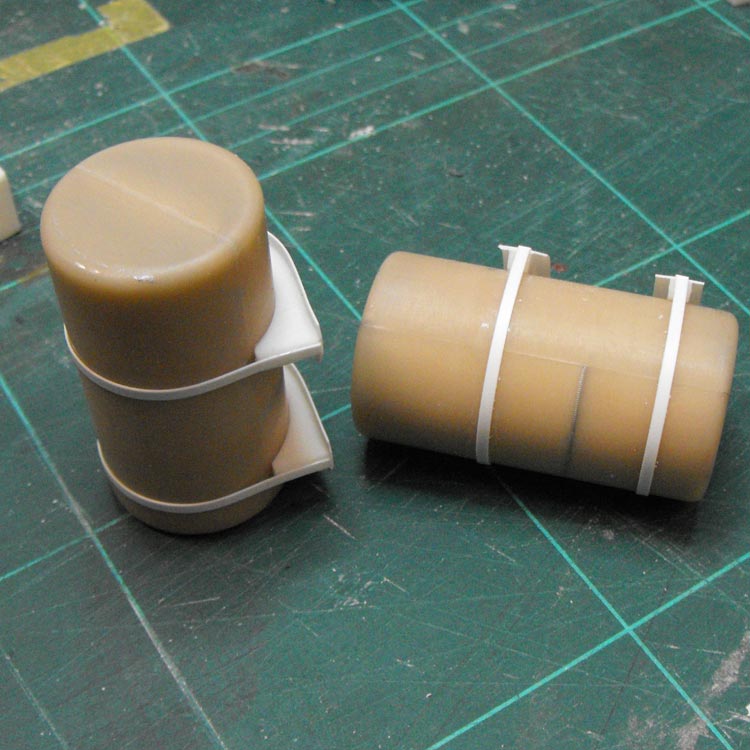
With the brackets glued in place on the tanks, I wrapped some more styrene strip arond the tanks to replace the moulded-on straps they originally had.
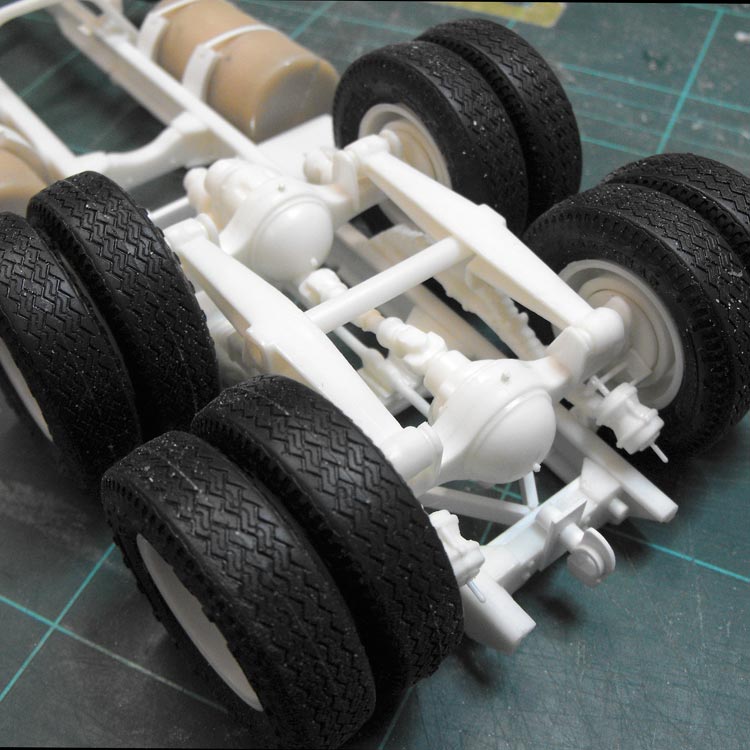
I also added some detail to the rear suspension. I raided both International Transtar kits in my stash to get enough air brake bits for front and rear spots on the bogie. I don't know what I'll now use on the Transtars, but I'll cross that bridge when I come to it. I also scratched up trailer hitch and associated mounting hardware. Here's another dry run.
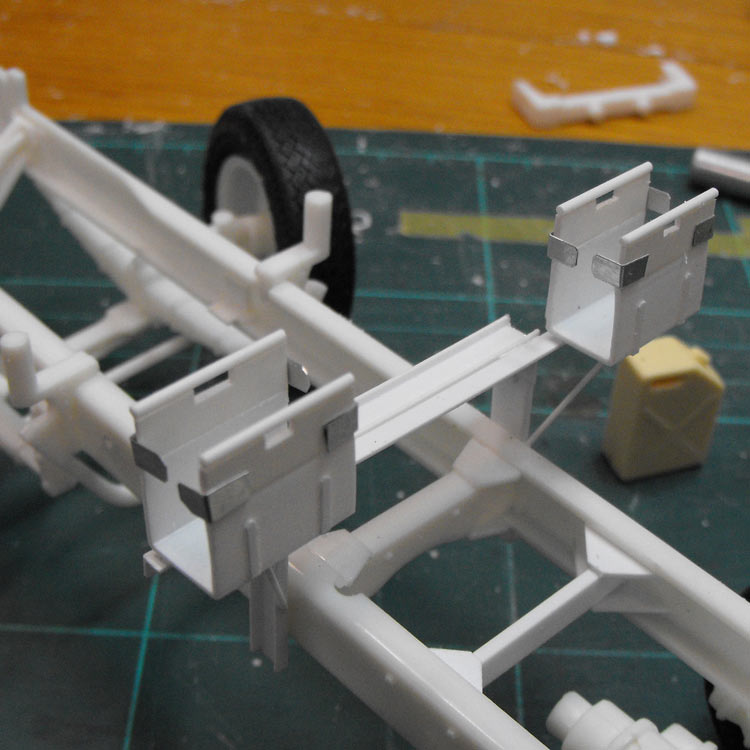
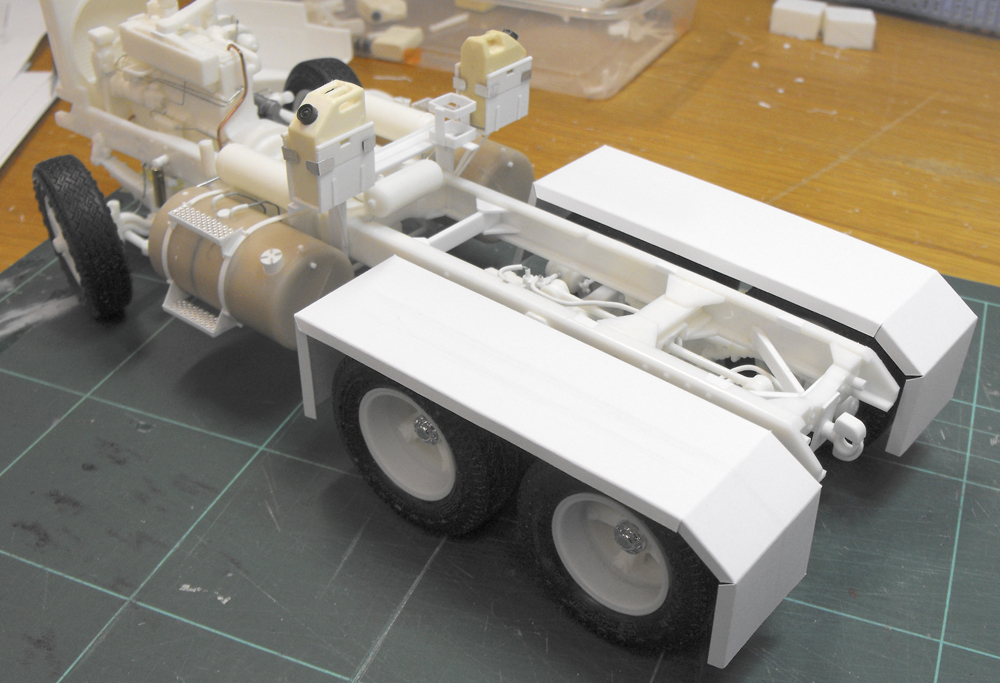
The original unit has a frame added at the rear of the cab mount to hold some jerry cans and and the suzies. Here's the frame and jerrycan racks scratched up.
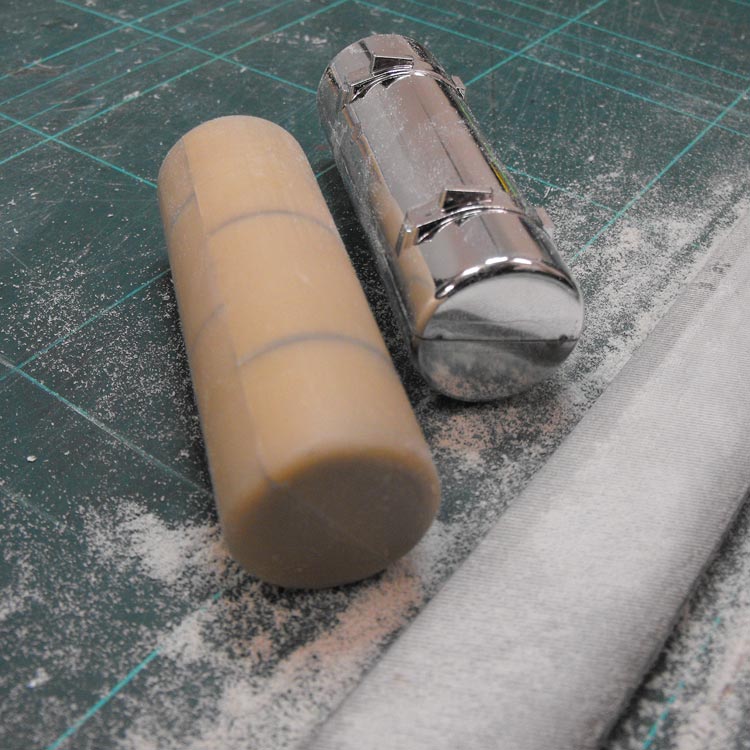
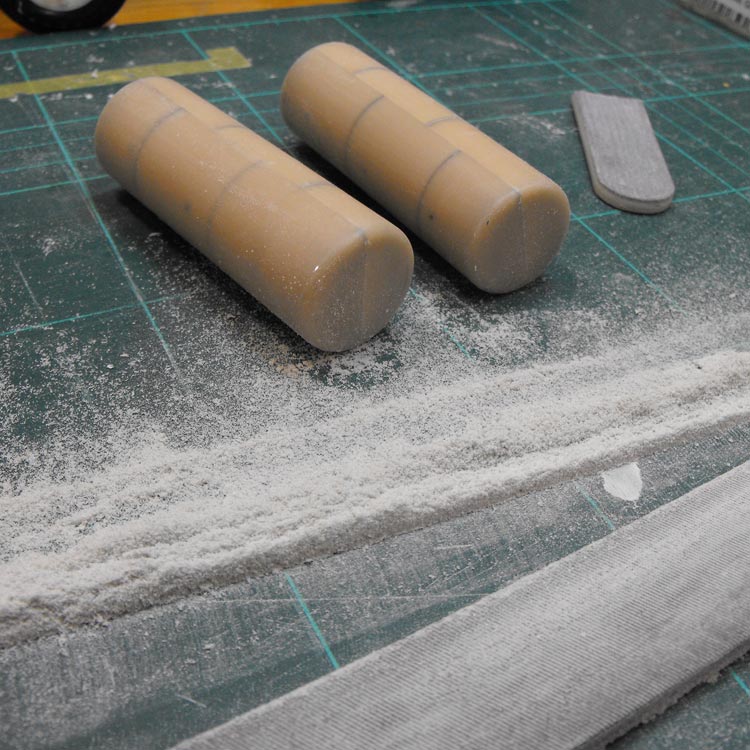
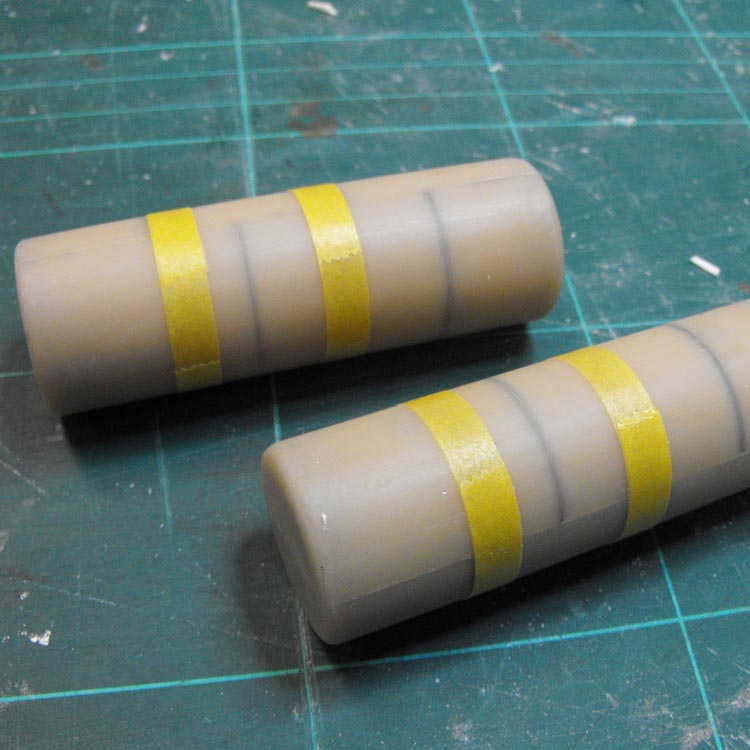
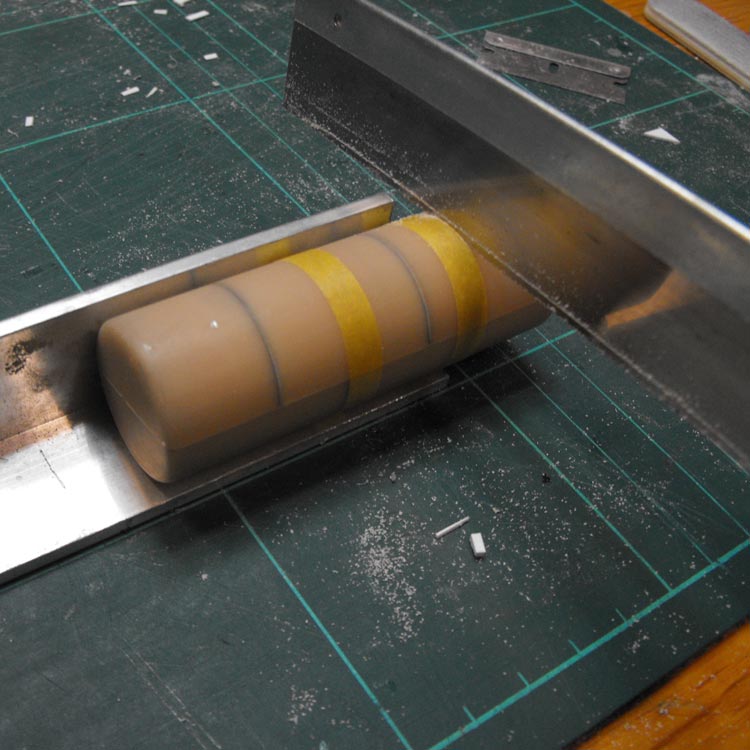
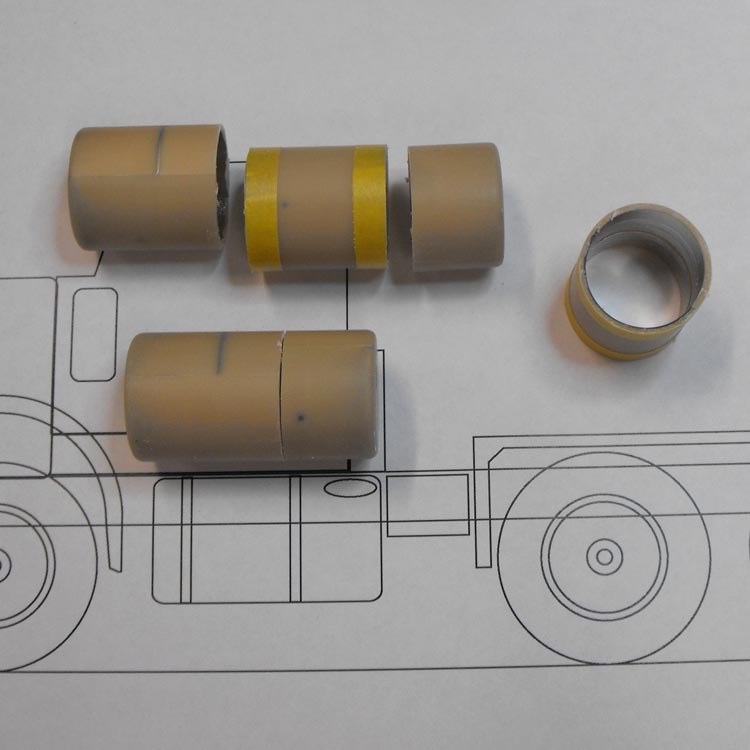
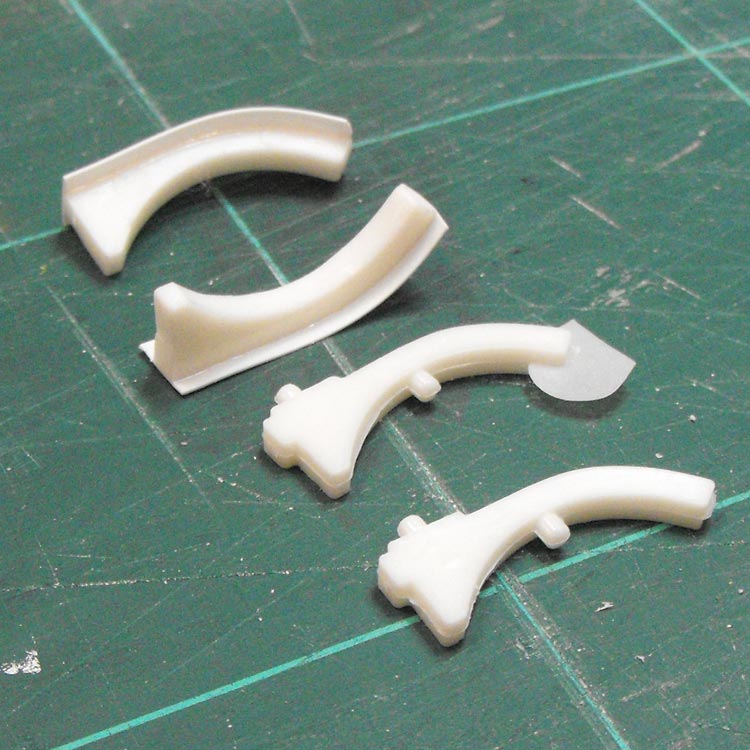
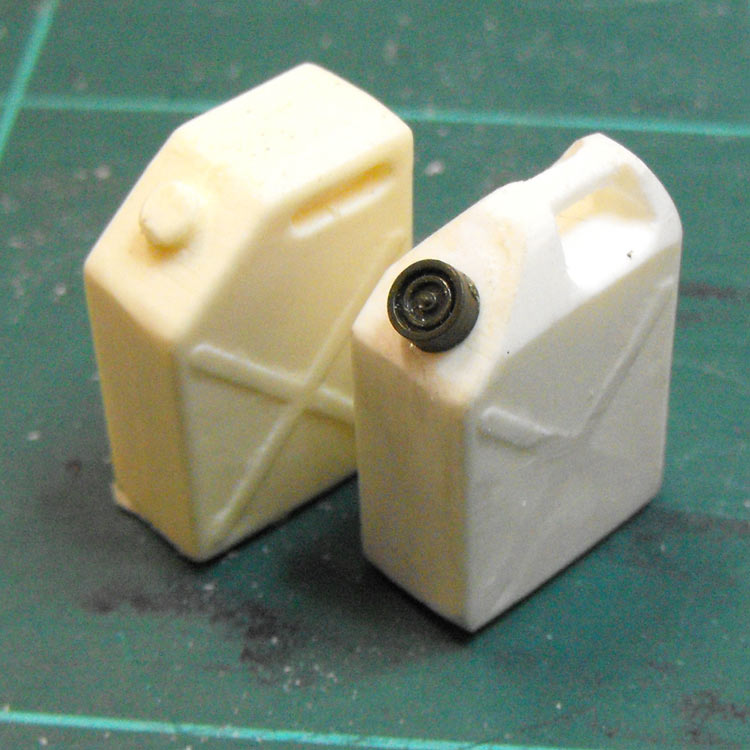
The Auslowe water cans left something to be desired, so I applied drill, file and knife to get a more appropriate shape, and replaced the moulded-on filler cap with the end cap from a 1:48 TOW missile tube, I think!
Next op was some plumbing for the back brakes. Here are the air hoses. Pipes and wiring harness yet to come.
I picked up a couple of Italeri 1:24 Land Rovers. I figure at one of these will make a good load with some general cargo.
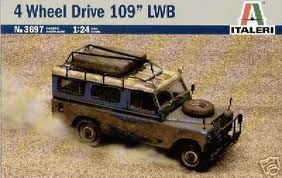
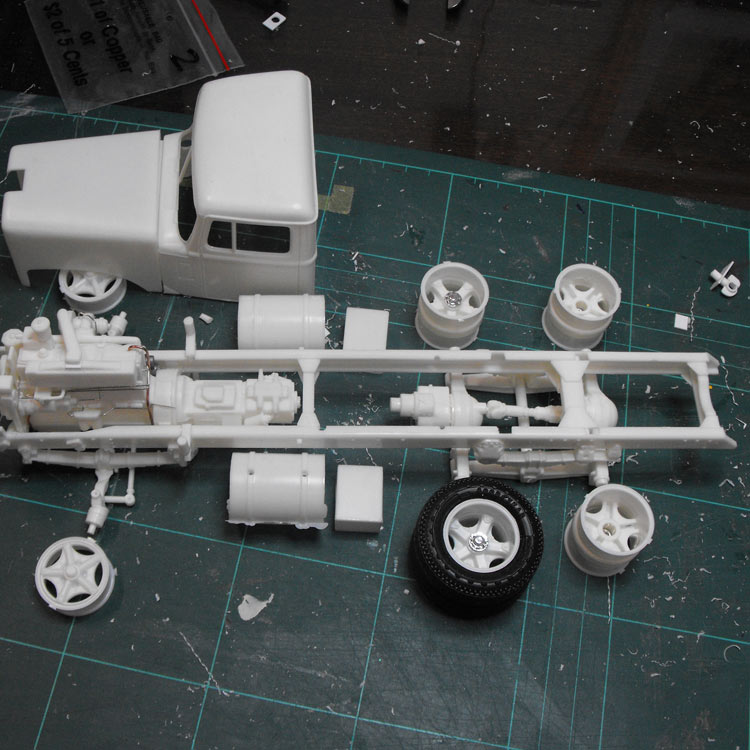
I cracked open the trailer kit and pulled out the one-piece tray and the Land Rover body and popped it on the back to see how it will all look together. It's been so long since I've done a big rig that I am really surprised how big the model is going to be.

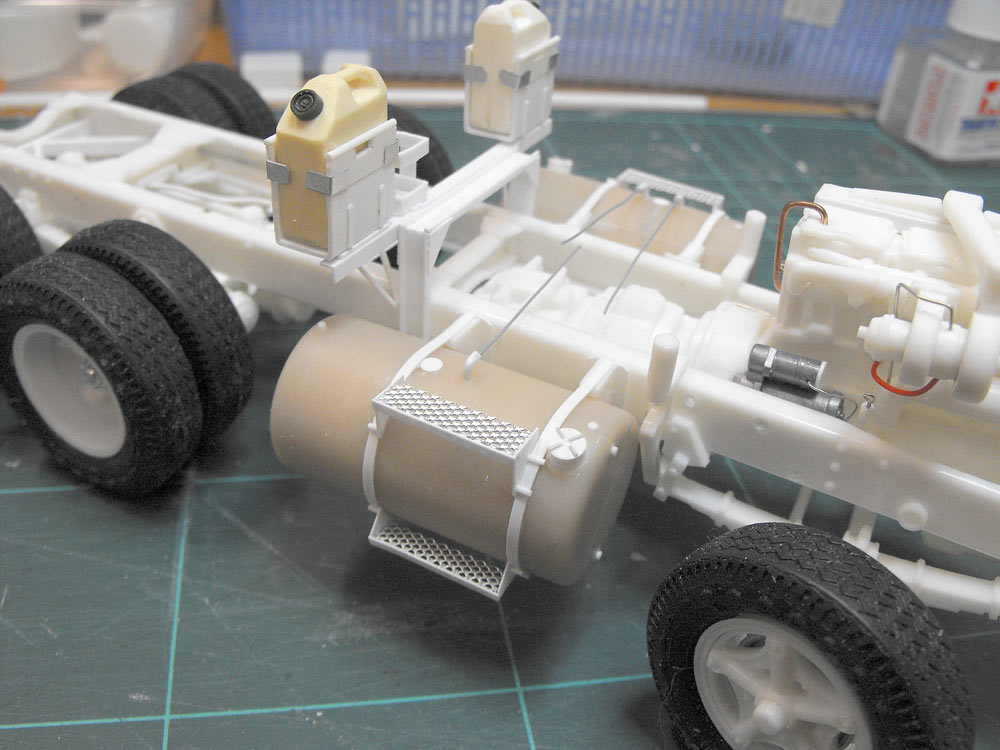
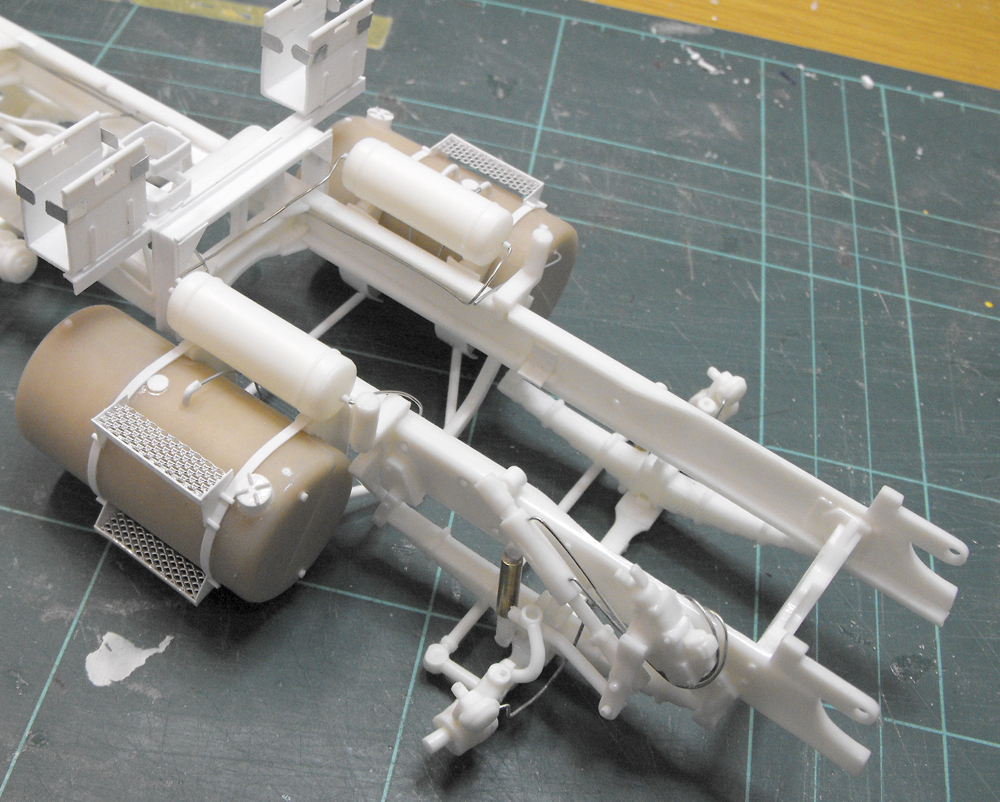
Quite a bit more detail was added to the tanks, including metal mesh steps and plumbing. They were fitted and the fifth wheel dropped in place temporarily. I am starting to get a feel of how chunky this truck is. A short wheelbase and dual drive will do that.

Here it is with the cab off so you can see a bit more detail.
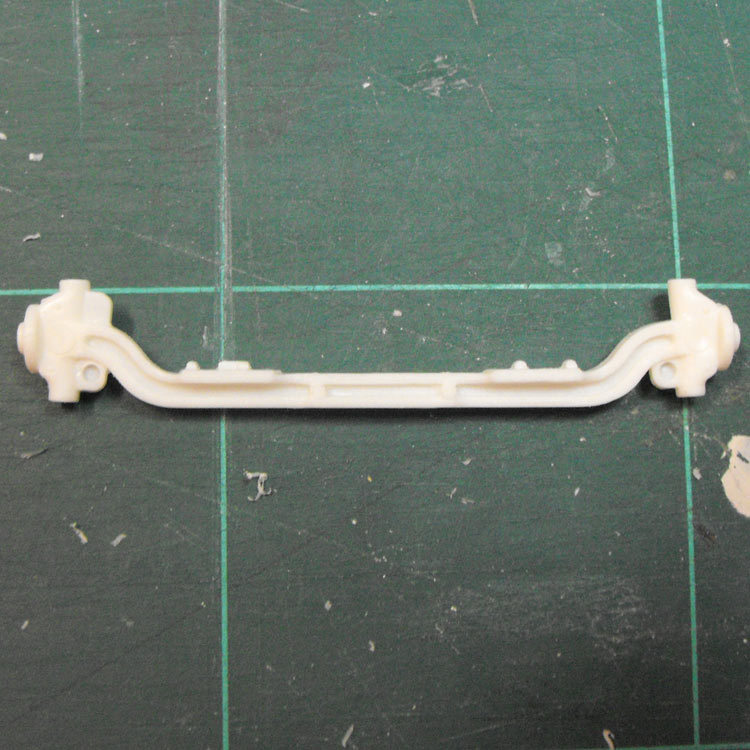
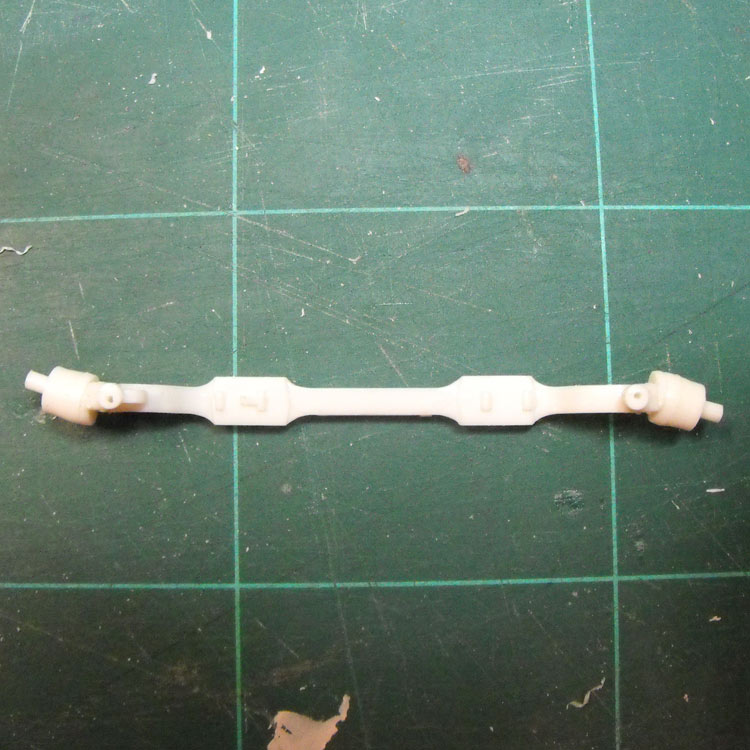
With the Aussie truck being RHD, the steering box and linkages needed to be transferred to the other side of the chassis. This involved cutting the uni-joint off one end of the box and glueing it on the other end. The box was then glued updside-down on the other chassis rail. There was also a gaping hole in the back of the box that I blanked off with some card. All the attachment lugs on the LH chassis rail were pared off as they weren't needed any more. They were also set up for a forward set axle, so they were in the wrong spot for this truck.
The linkages themselves needed some re-arranging and shortening to look feasible on the RHD set up.
Three air tanks were added and then these, the front brakes and the power steering had some plumbing added.
The museum example I got most of my pics from had plastic rear guards fitted but shots of the trucks in Vietnam show a square fabricated treadplate rear mudguard arrangement. I drew up a template in Illustrator and ran out a print as a test.
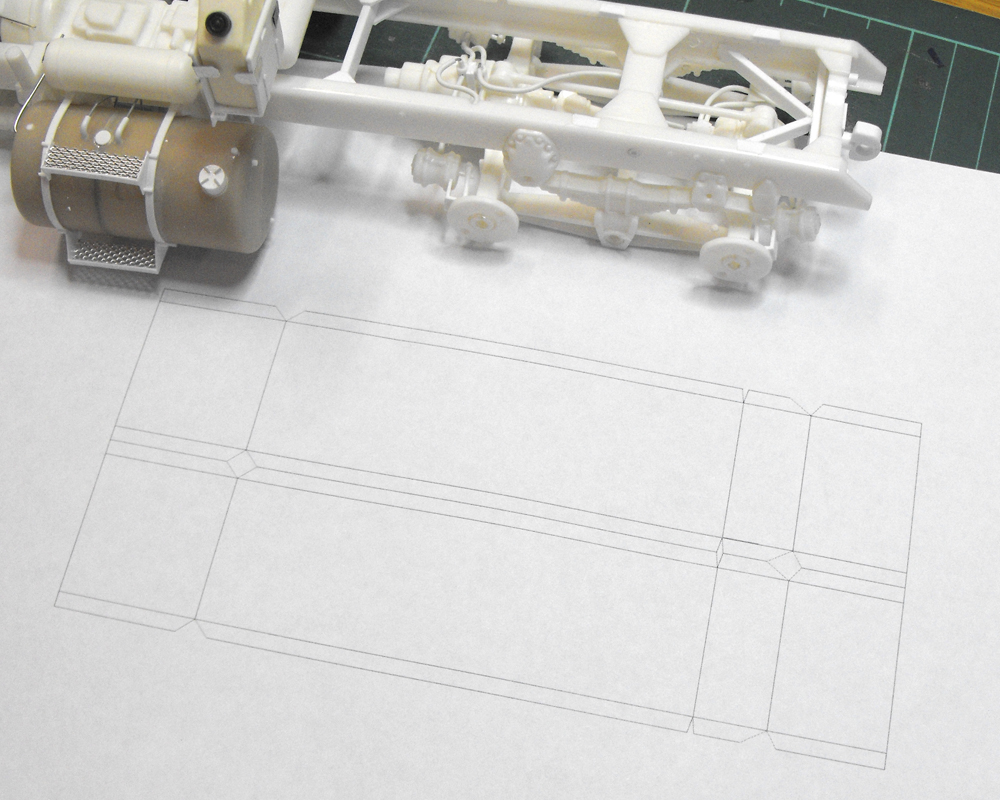
When trimmed and folded they fitted quite well. Now I just have to do the same thing with some styrene treadplate!
Back to Top


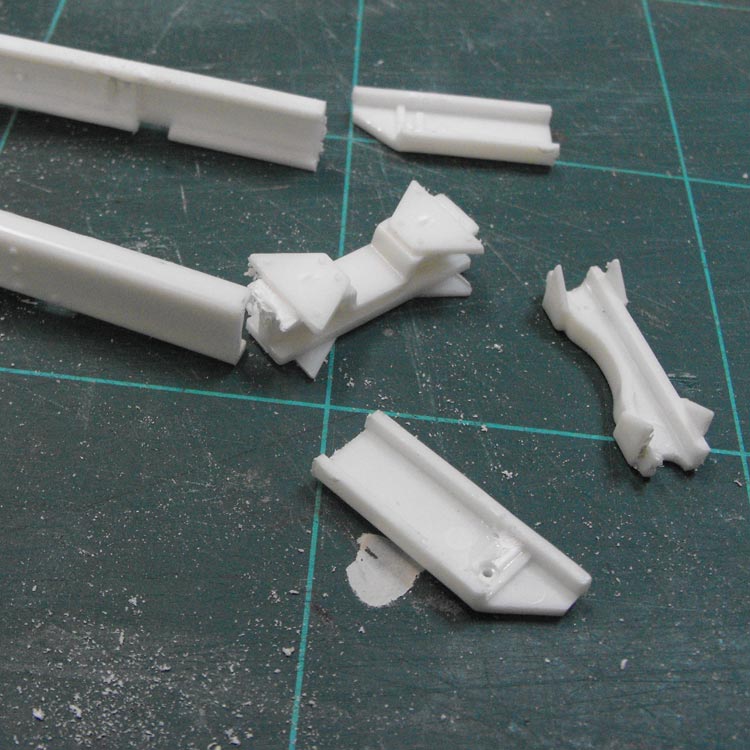
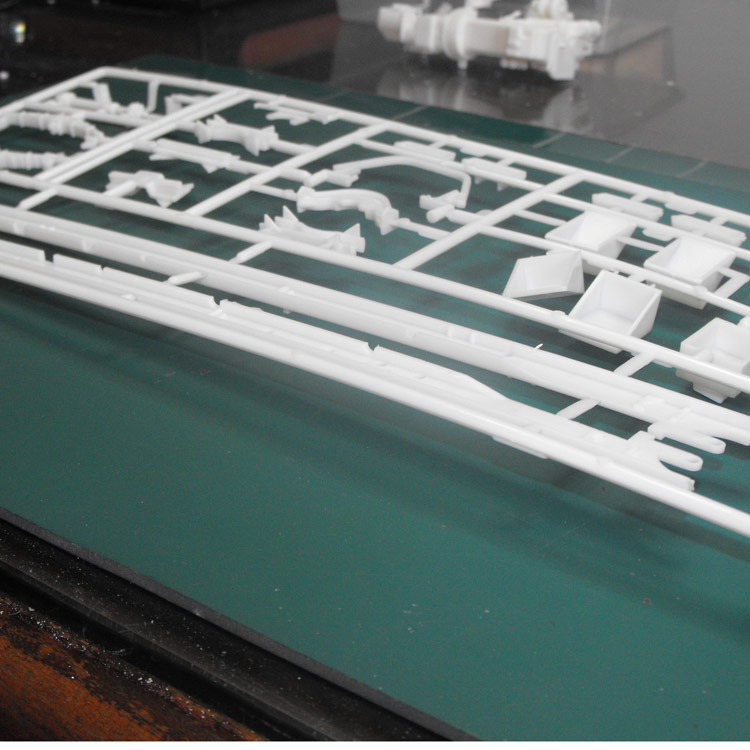 The warped chassis rails
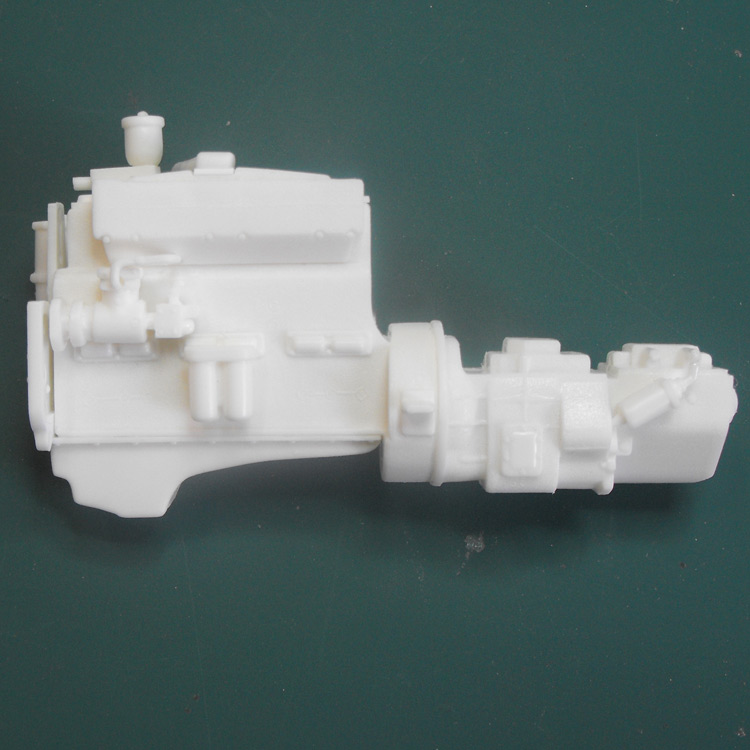
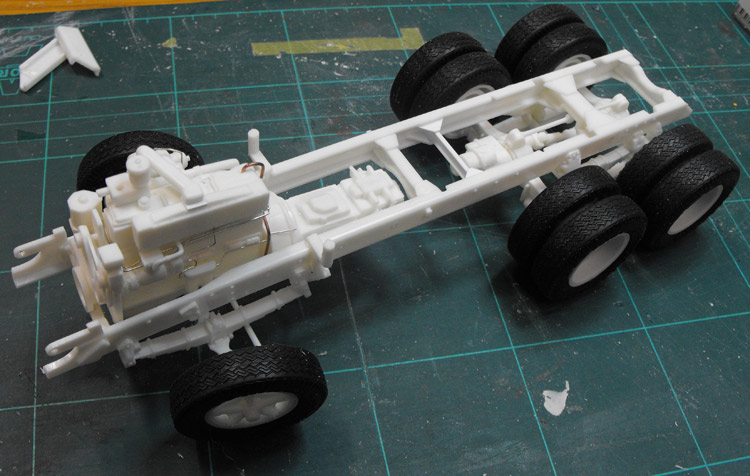
 The basic engine assembly

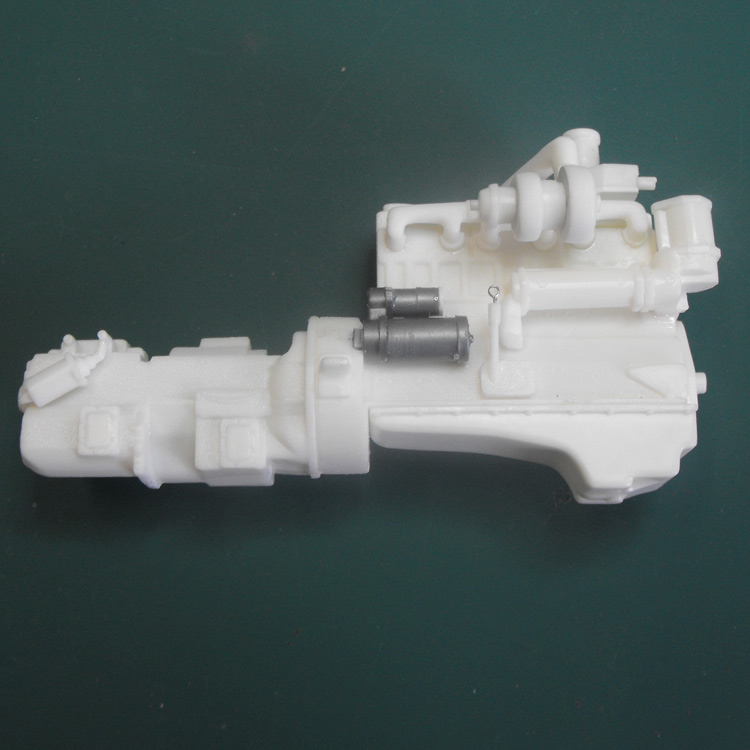
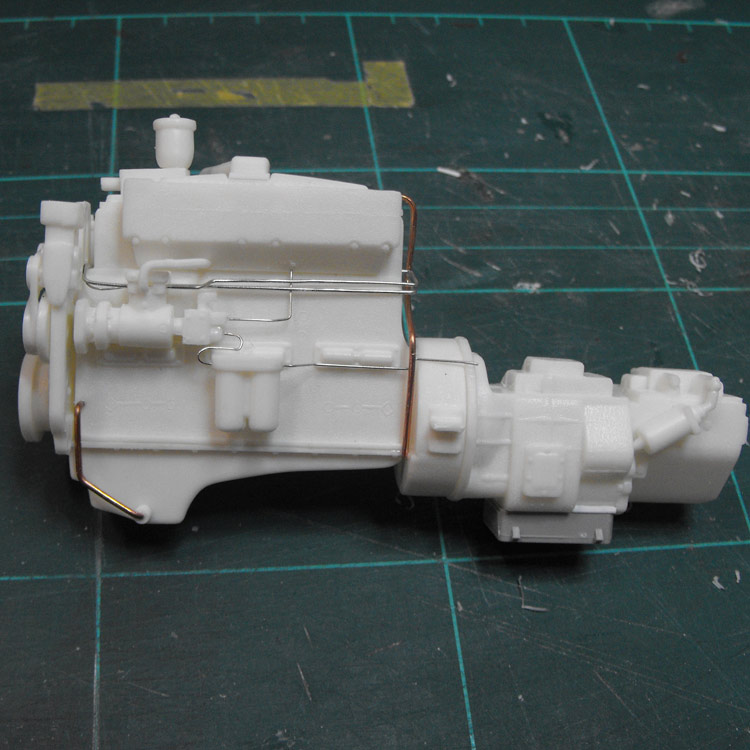 A bit of plumbing