1:25 AMT
Mack DM 800 Water Truck
Build Log
The Idea
The idea behind this build is to turn this ...
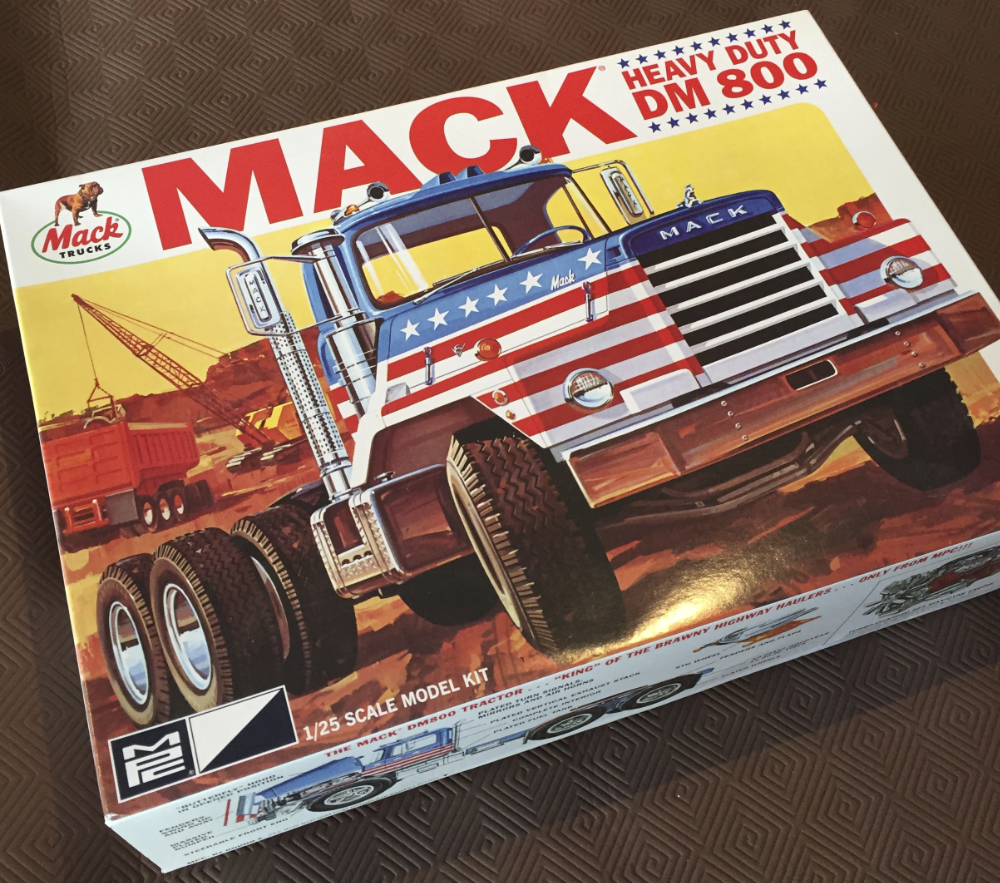
Round2 Model's re-pop of the old AMT Mack DM 800 tractor.
... into this:
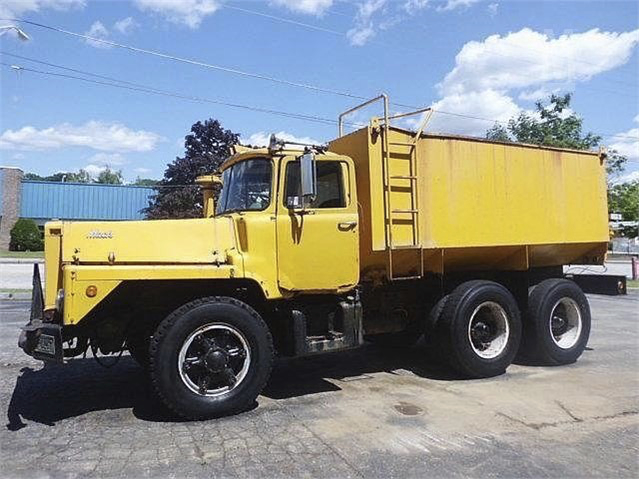
A Mack DM 800 water tanker I found on the Web.
I have a soft spot for anything that has obvious mass, and this Mack water truck fits the bill! This job would also have a nice, moderate amount of scratchbuilding for me to build my skills with.
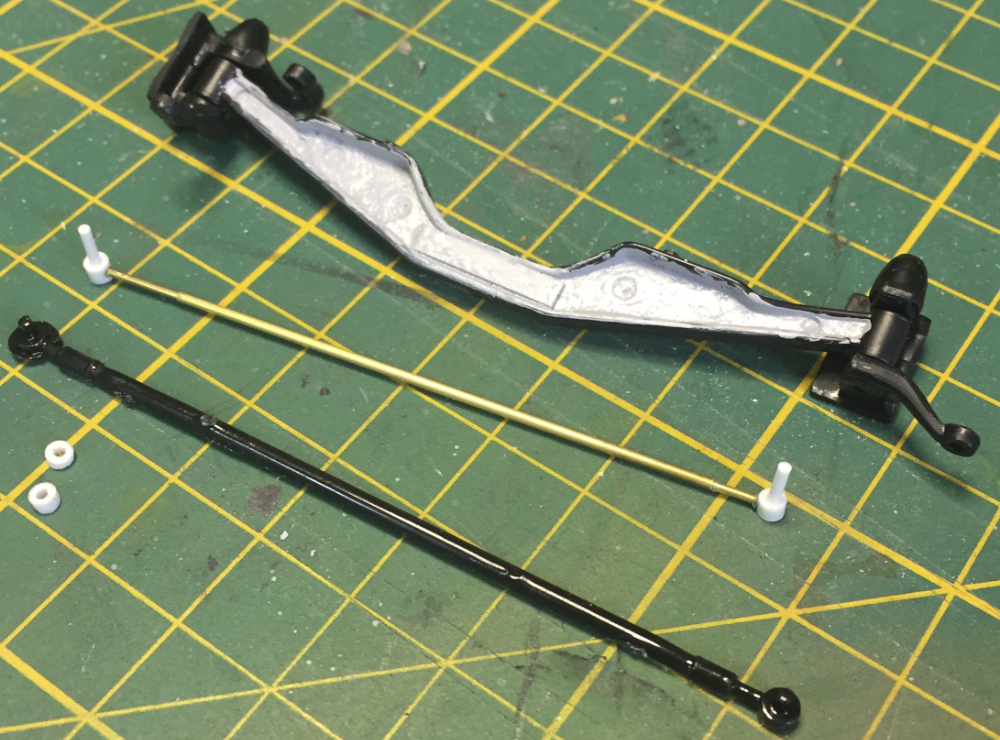
Shortening the front axle.
One of the known issues with this kit is that the front axle seems to be a bit wide. When built out-of-the-box, the front wheels protrude well outside the front guards. I didn't want this, so I cut 5 mm out of the center of the axle beam and strengthened it with some plates. I also scratchbuilt a new connecting rod out of brass and styrene to the new wiidth. That seemed easier than wresteling with the kit parts.
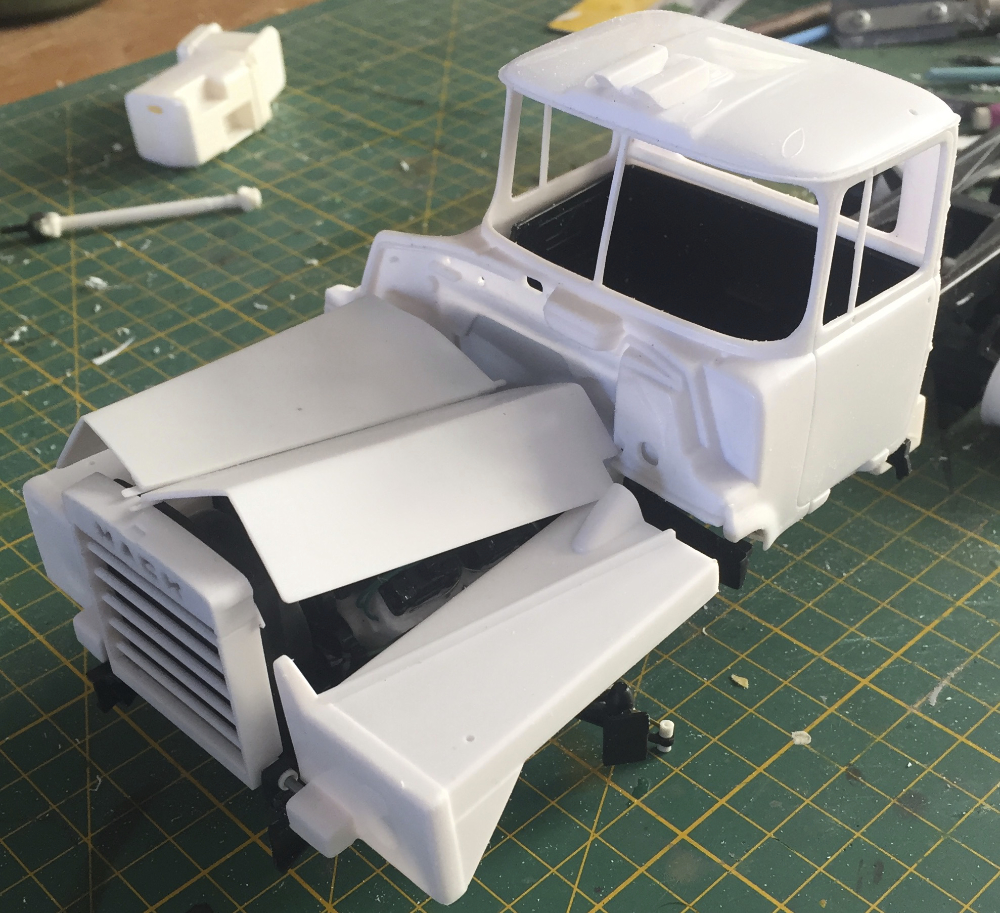
Dropping the six parts that make up the cab and bonnet together.
Another area of concern with this kit is getting all the different parts of the bonnet and cab to line up. More on this later!
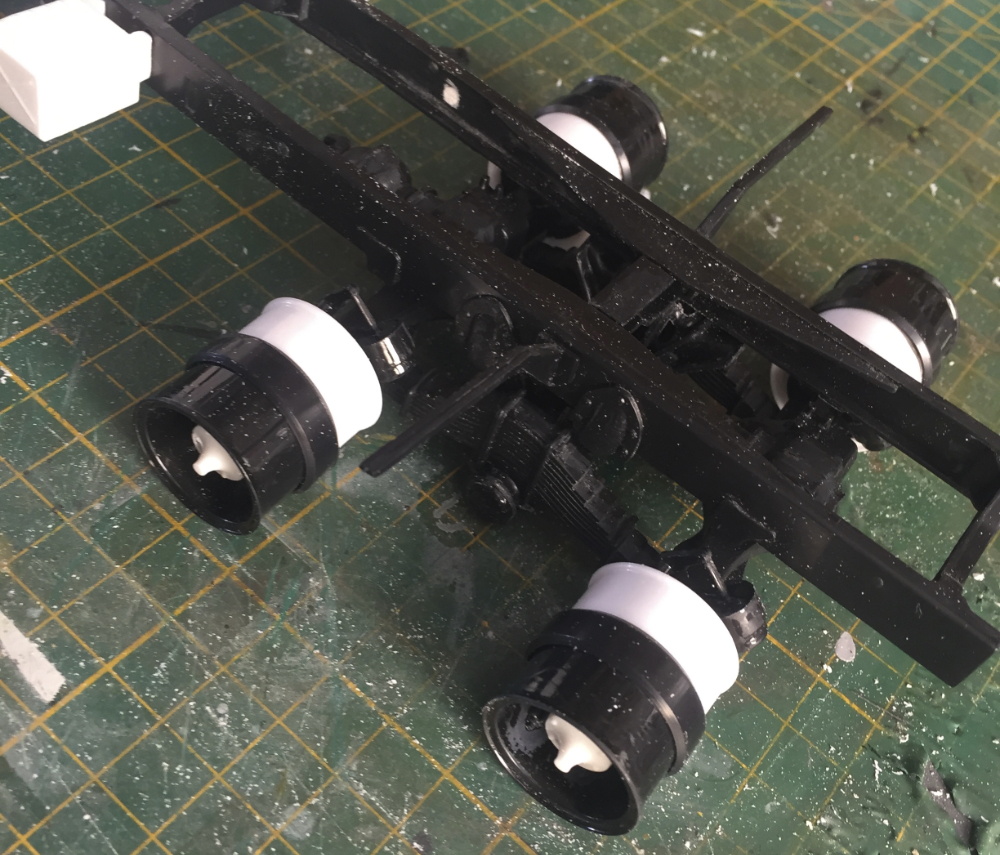
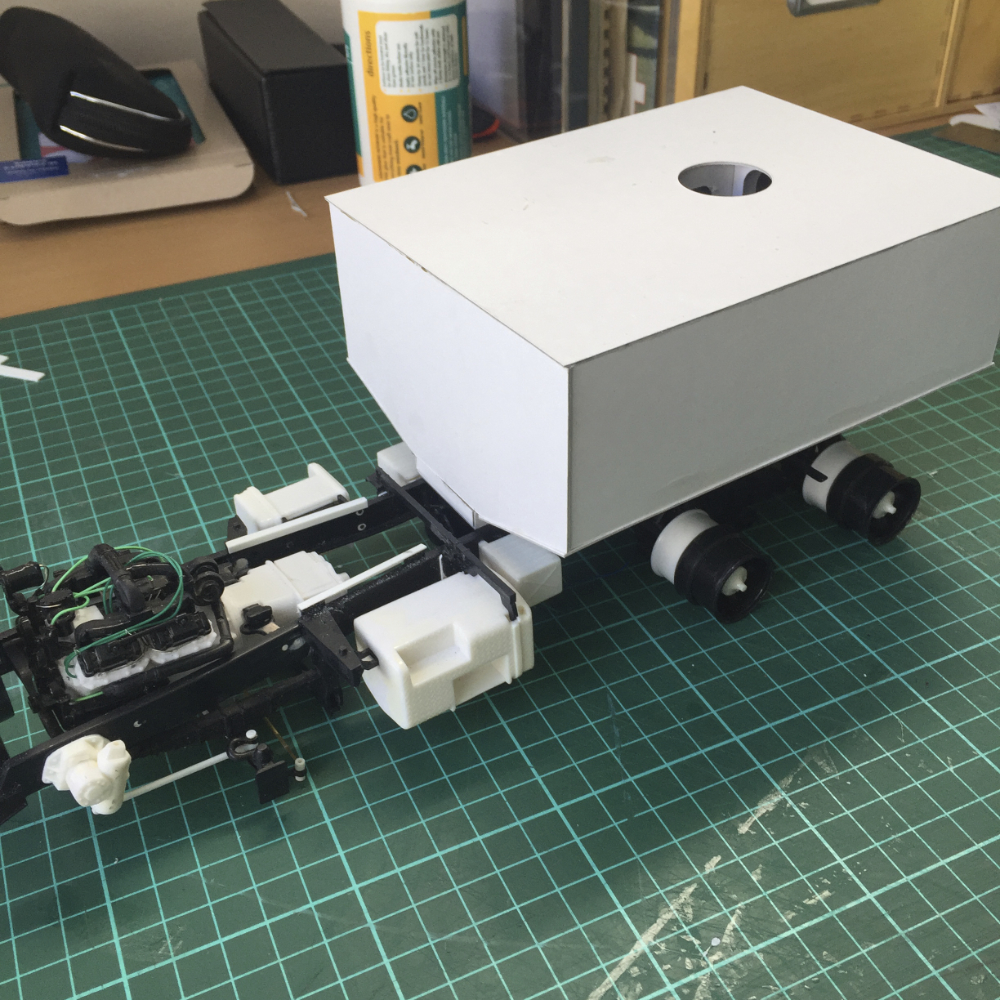
The chassis and bogie drive sitting together.
It is possible with this kit to leave the major components of the bogie drive unglued. This will help with the final sit of the model as the leaf springs and axles can all wiggle around a bit, which will help the wheels to all sit nice and firmly on the ground. There's nothing so sad a nice truck kit with one wheel hovering in mid-air. This flexibility is just as well, too, as I missed an instruction telling me to trimm a chunk fromm the top of the main pivot mount.
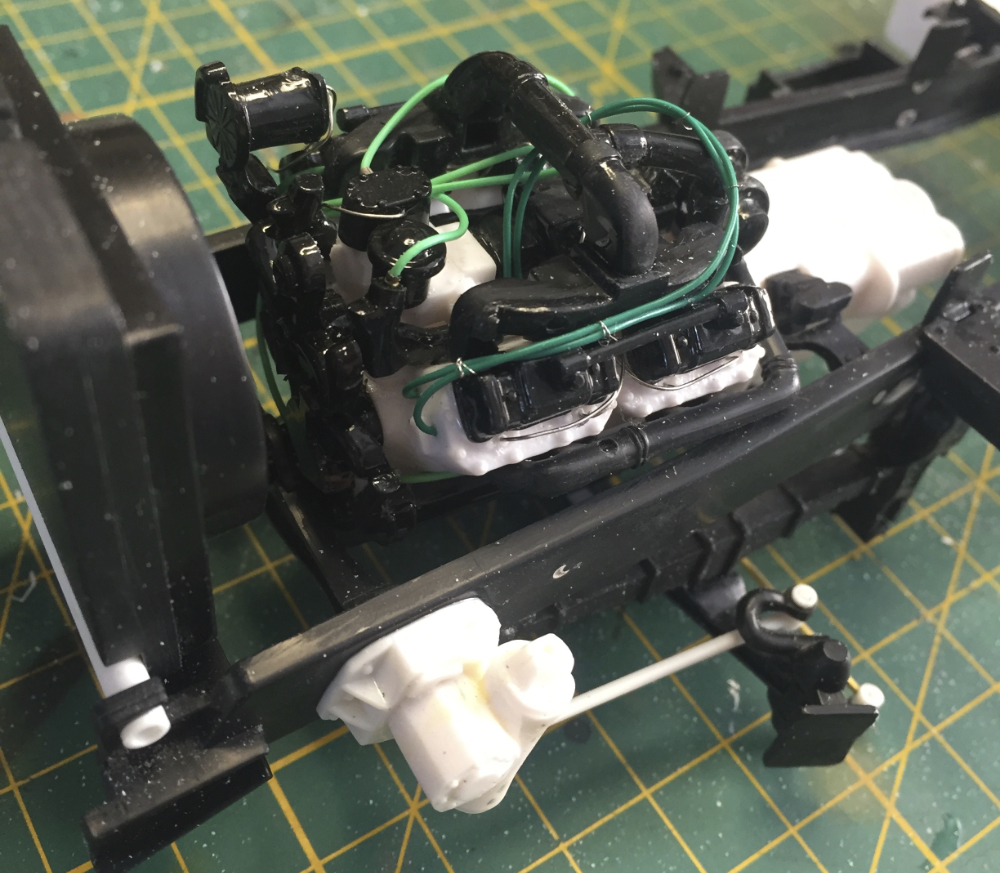
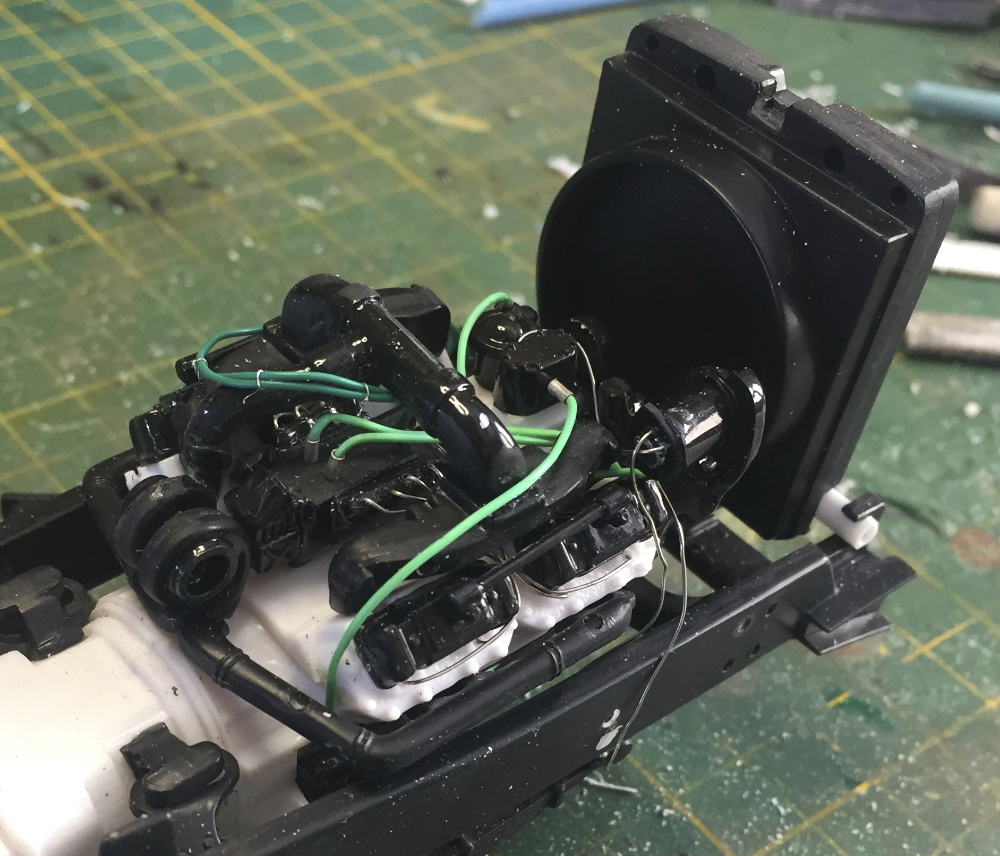
I do like a busy engine, so I added some wiring and replaced a few of the more crudely moulded parts with scratchbuilt bits.
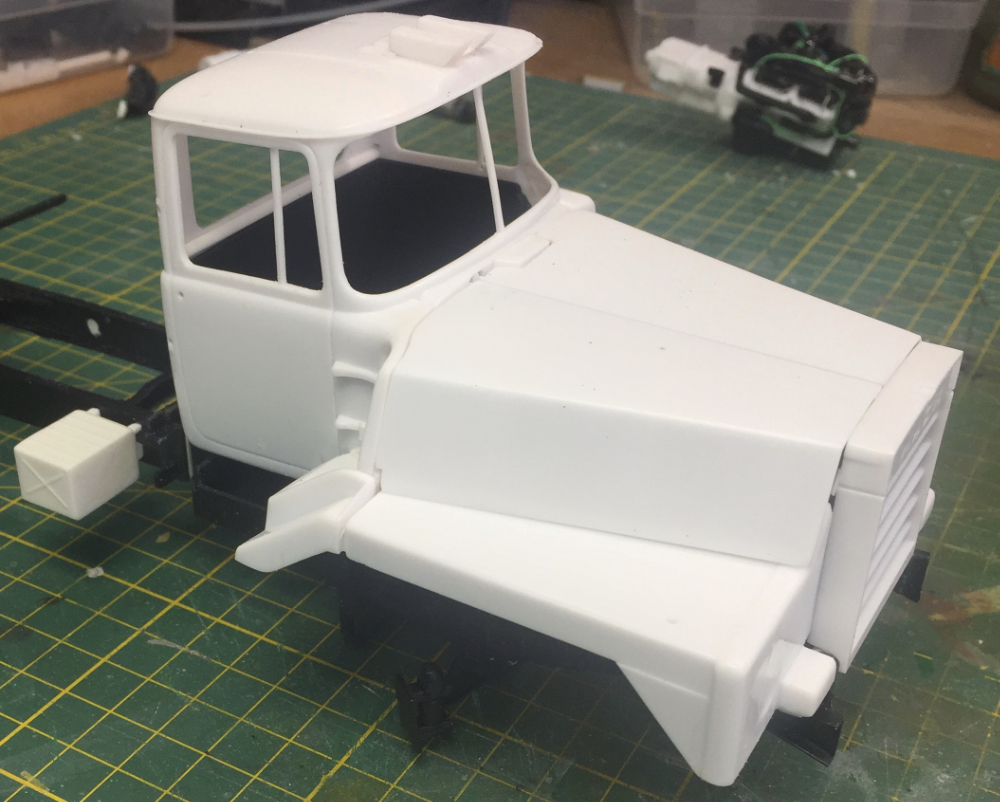
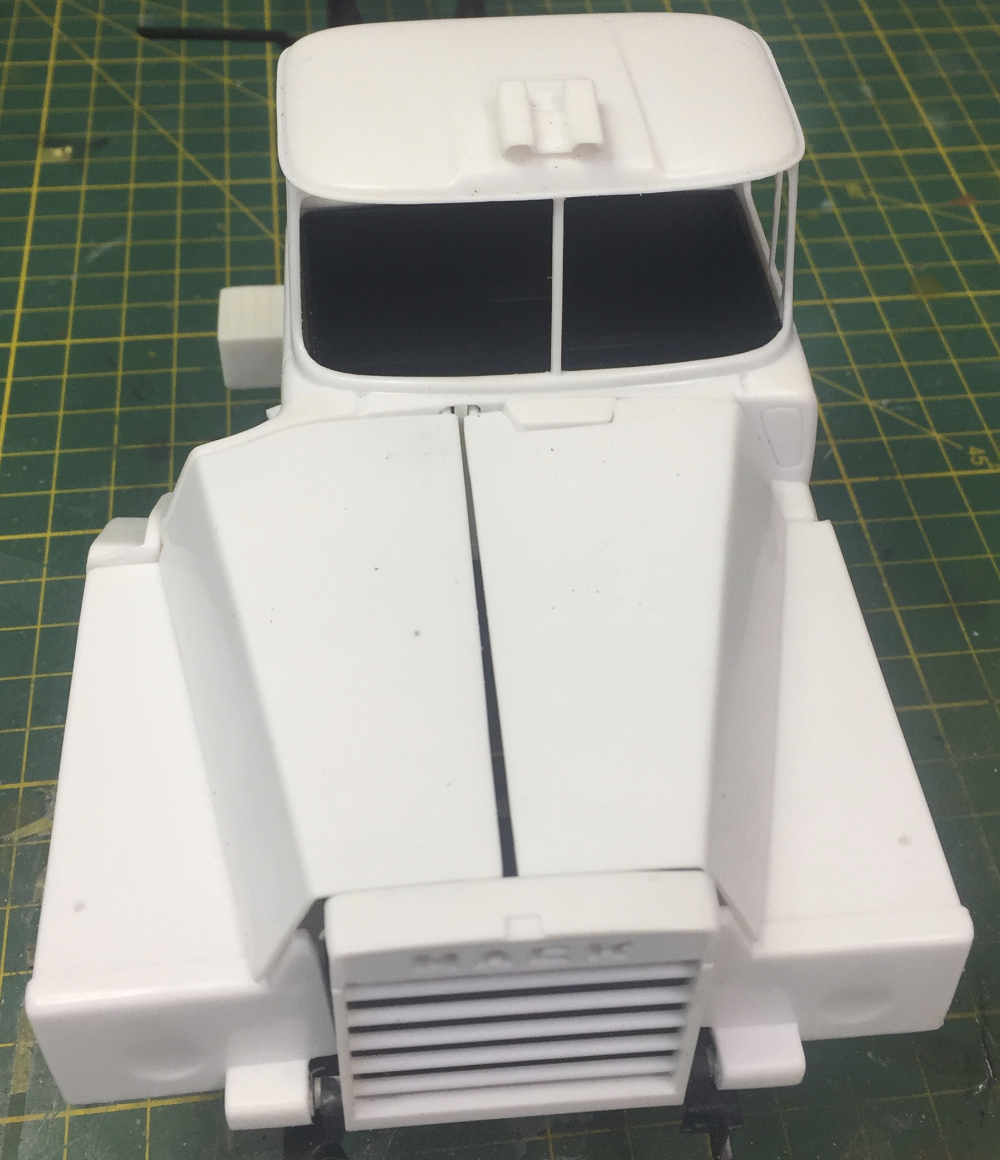
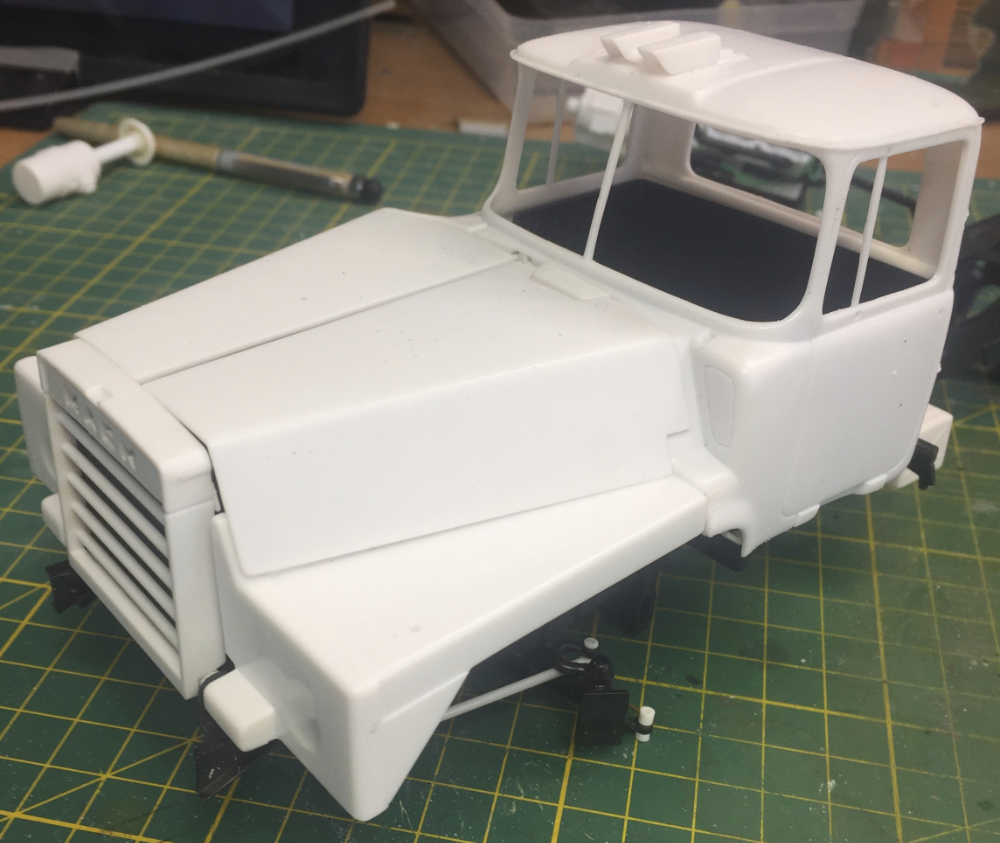
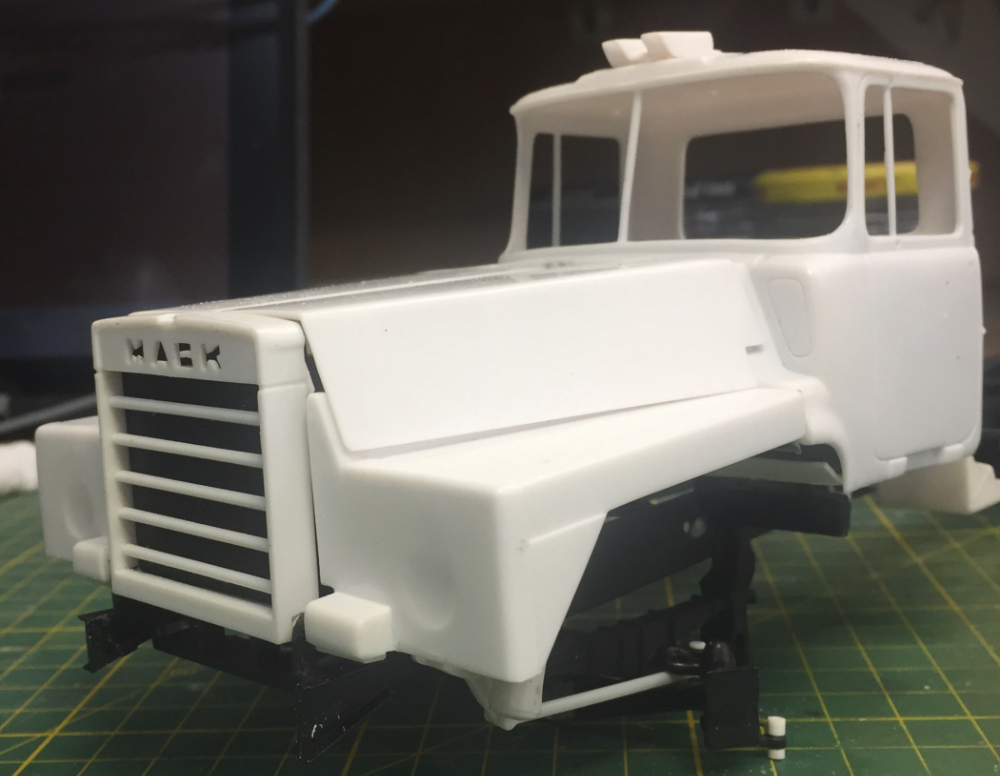
Here are the cab and bonnet parts looking much more 'together'.
After much dry fitting and modification, I got the cab and bonnet parts to more-or-less agree about where they were going to live. This involved creating more robust mudguard hinges that would also let the mudguards be removed. I also added proper locations for the butterfly bonnet hinge pins, and dropped and repositioned the cab so it would sit better.
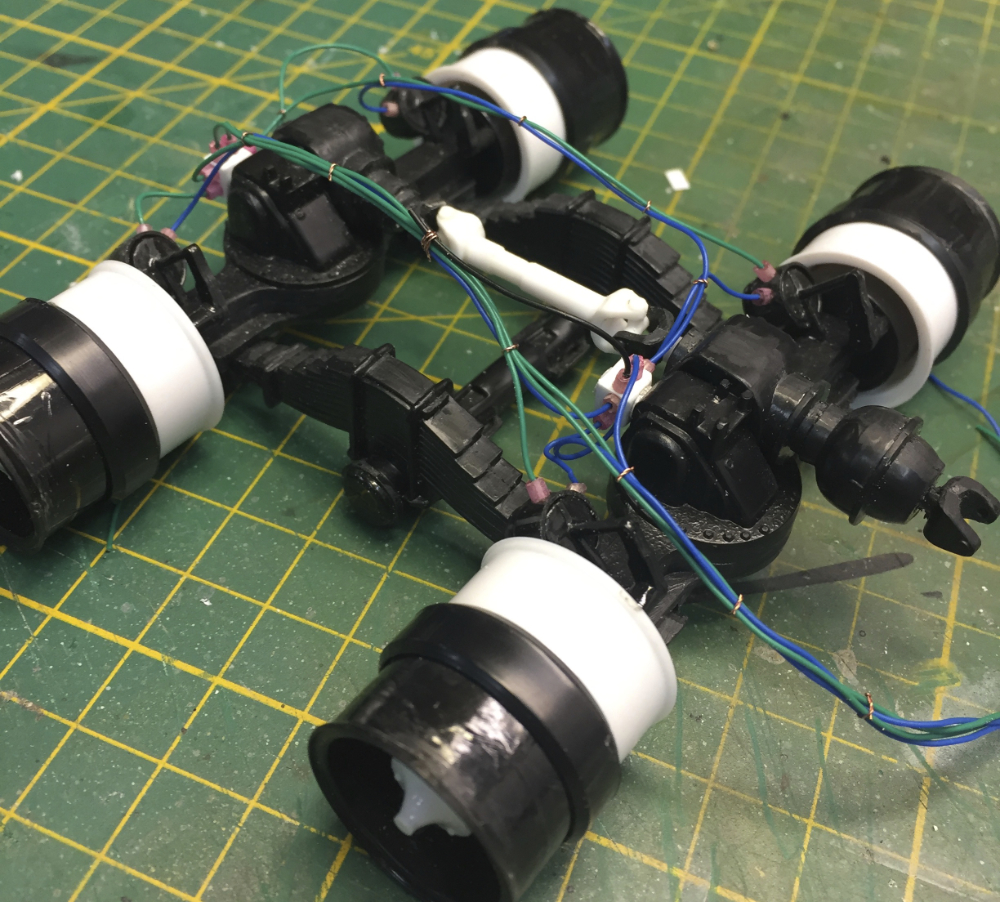
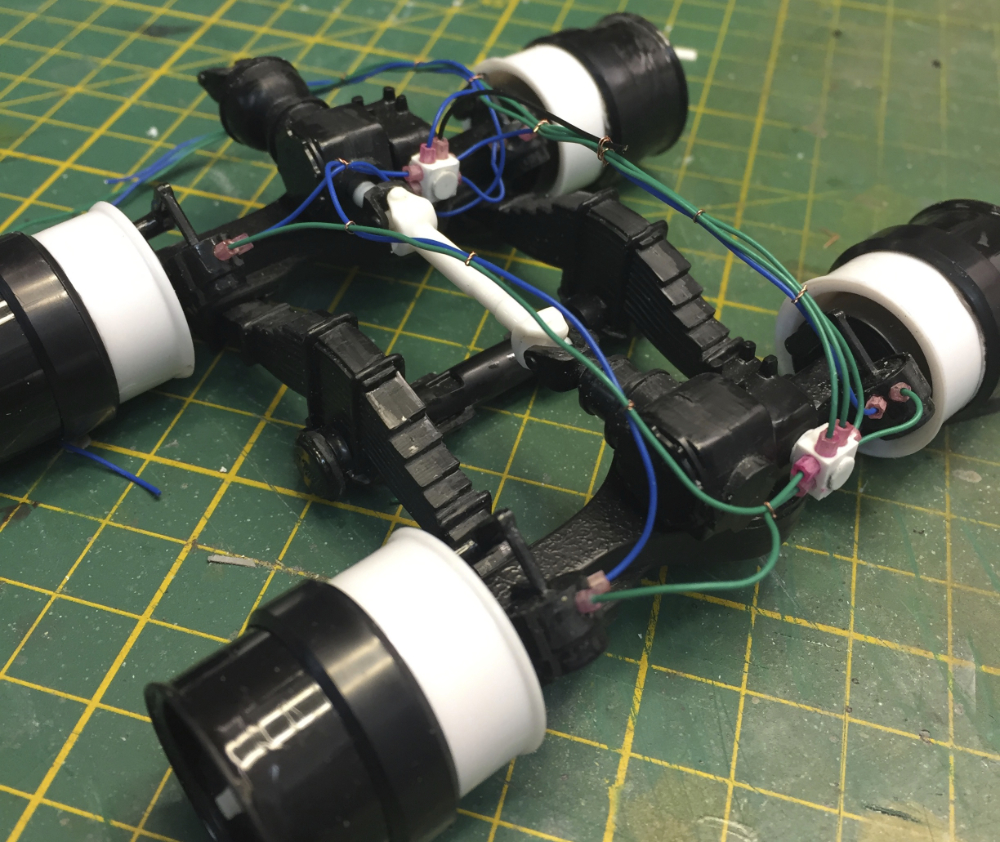
Added details on the bogie drive.
I added some valves and brake lines to the bogie drive, too, to add some more visual interest. The cables are from some headphone leads, and the pink ends are hexagonal glass beads from a craft store. The cable ties are simply fine copper wire tied around the bundled wires.
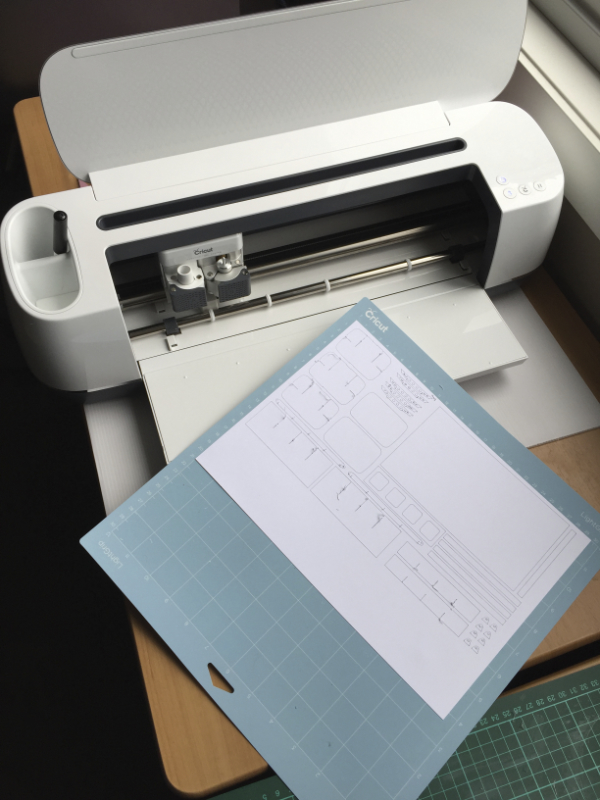
My new Cricut Maker machine.
I am always looking for easy ways to make multiples of shapes and components. I bought a hobby-grade 4 Watt laser cutter some years ago with the hope of using it to cut out styrene shapes from sheet. While it worked fairly well on this sheet, it left heavy melted edges on thiscker sheets and it was slow and the results were inconsistent. You also couldn't leave it unattended due to the fire risk!
So, that got ditched and I splurged on a Cricut Maker craft cutting machine. This cuts thin styrene very well, and cuts thicker styrene enough for a score-and-snap type of cut. I can also load in apen and it will draw the part on the styrene for me to cut out myself. I bought the big matt, too, so I can cut out elements up to 610 mm long. Big enough for things like trailer sides!

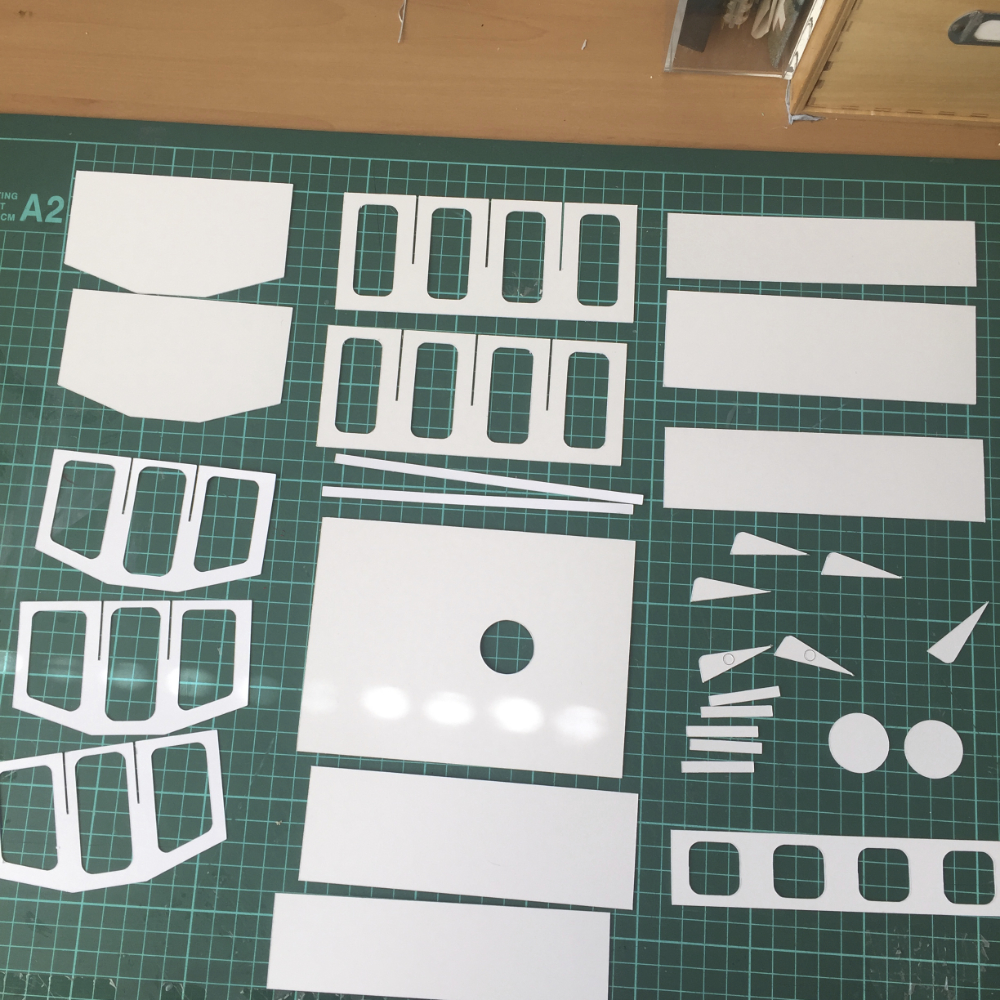
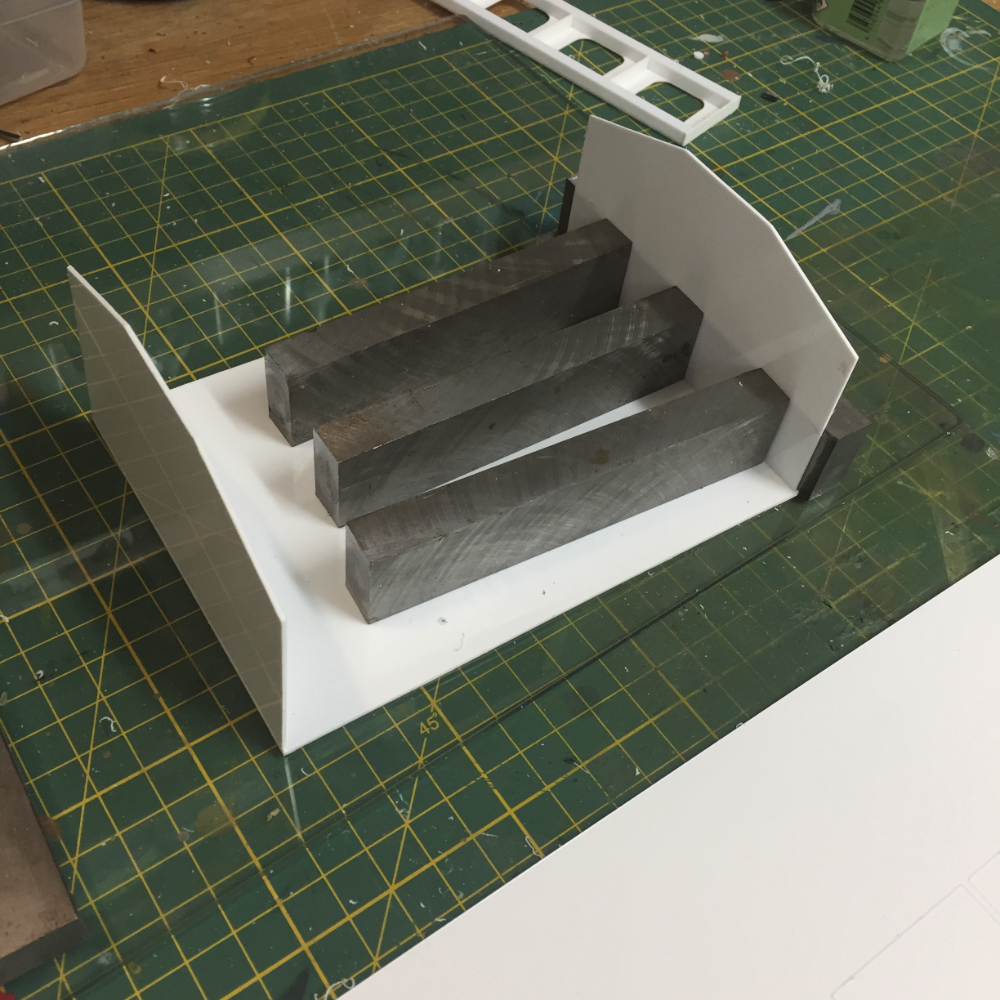
I trialled the Cricut using cardboard to start. This is a great way to test your design before you commit to using styrene.
Here you see the test cuts I made using cardboard to see if the idea would work. In card, it worked really well.
Next step was to try it with styrene.
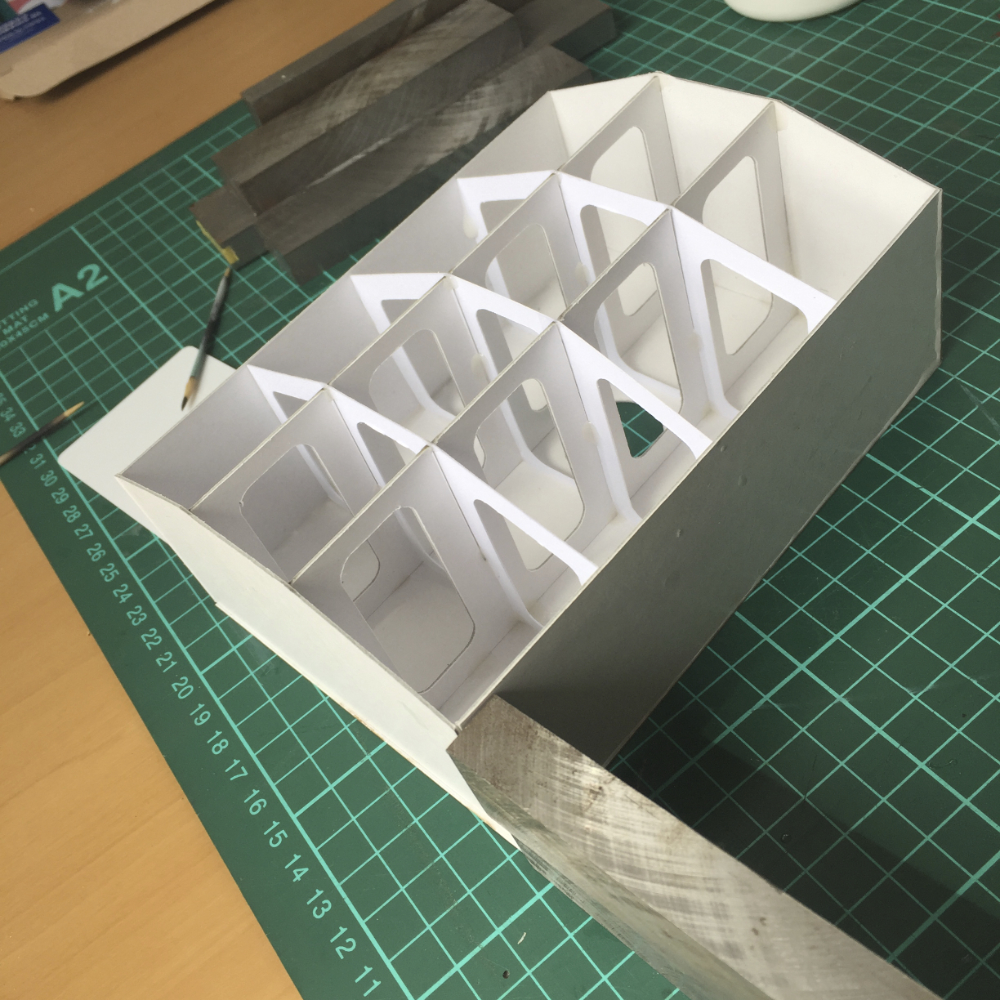
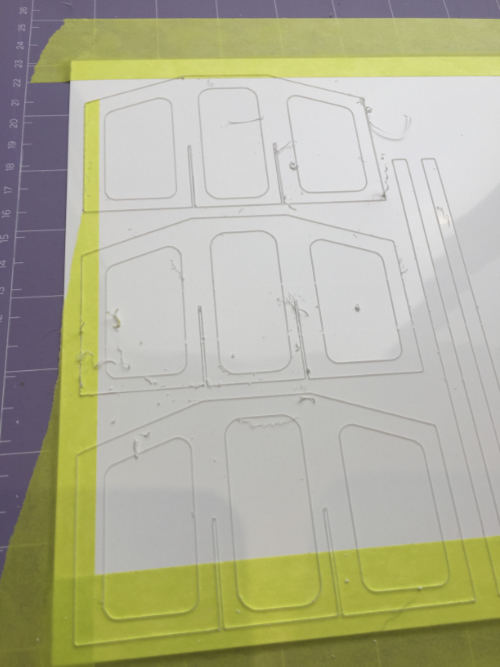
On to the styrene. I used 0.75 mm thick styrene to try things out. Ihe Cricut scored the sheets very deeply, almost cutting right through. Evene with that, though, the centre bits, like the holes in the inner frames, were very hard to pop out and I broke some of the pieces. The deep cutting also strained the styrene and it ended up quite bowed. When I started gluing it together, it proved quite difficult to maintain the alignment, and the sides ended up wavy. Ah well!
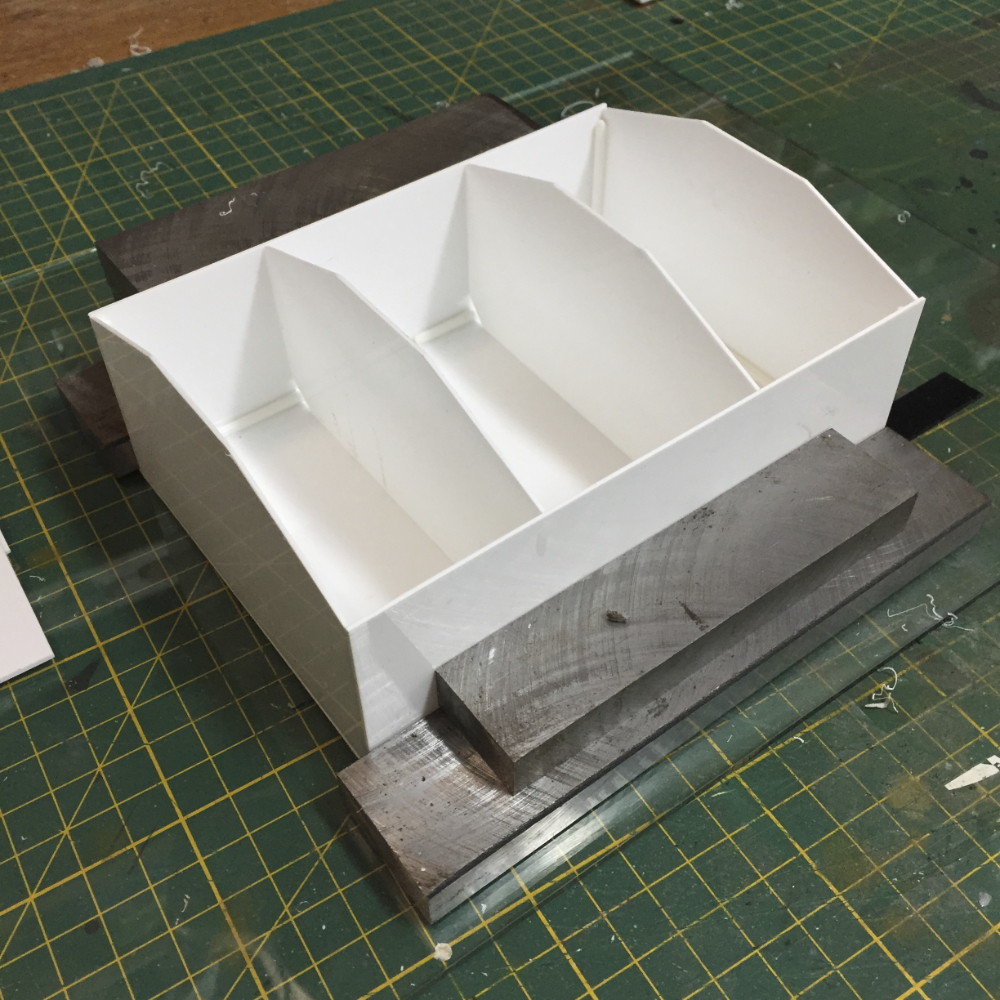
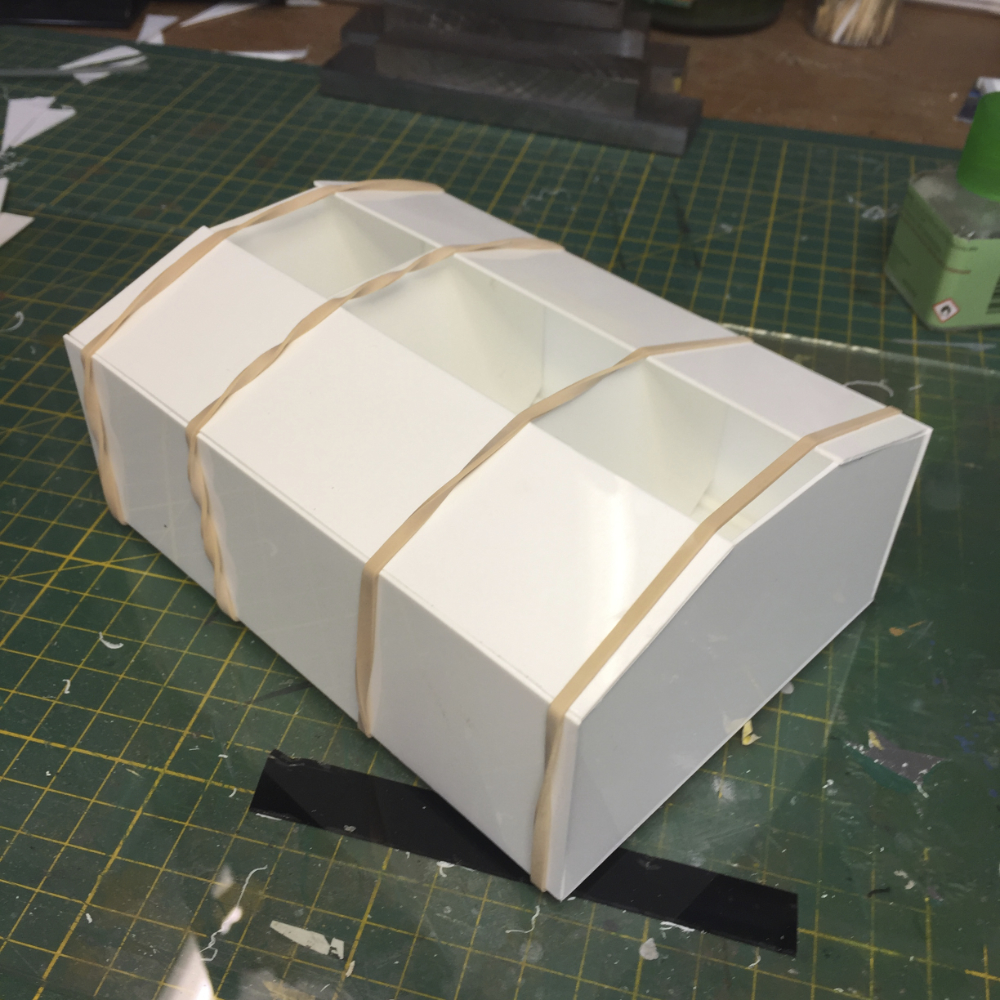
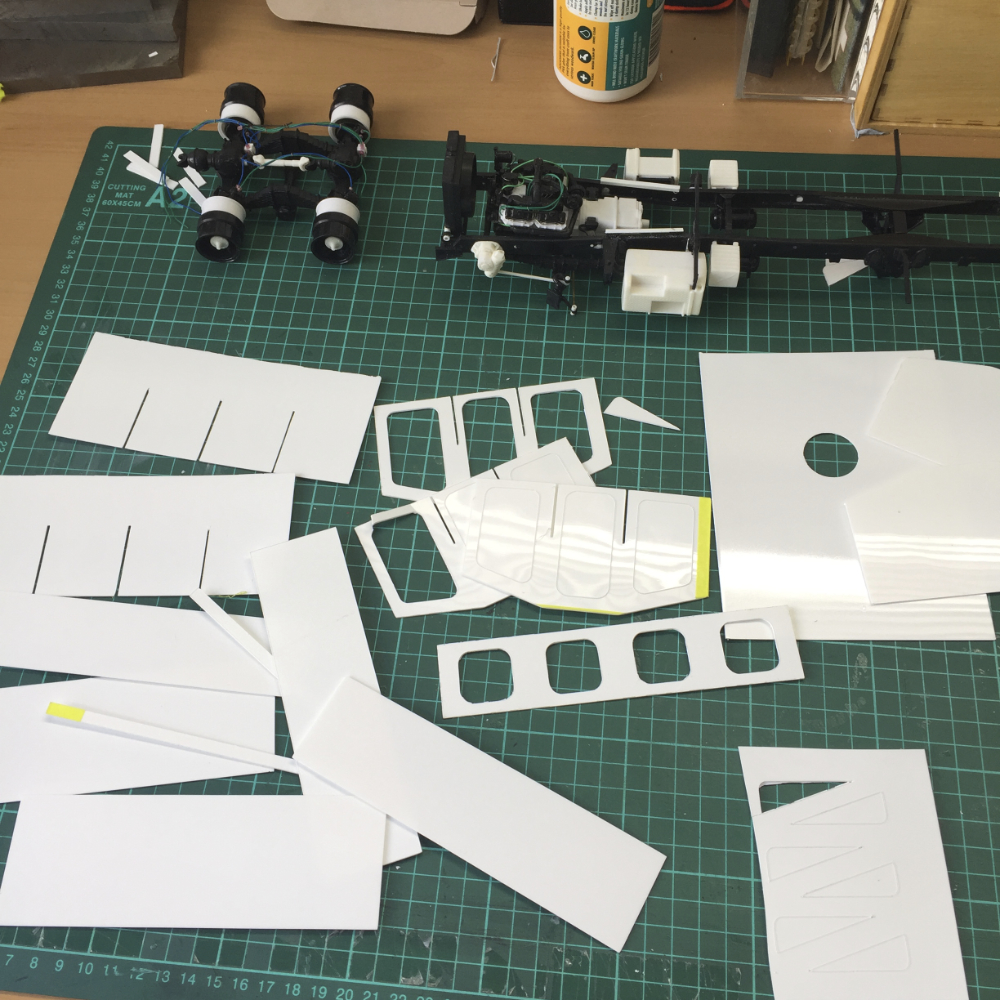
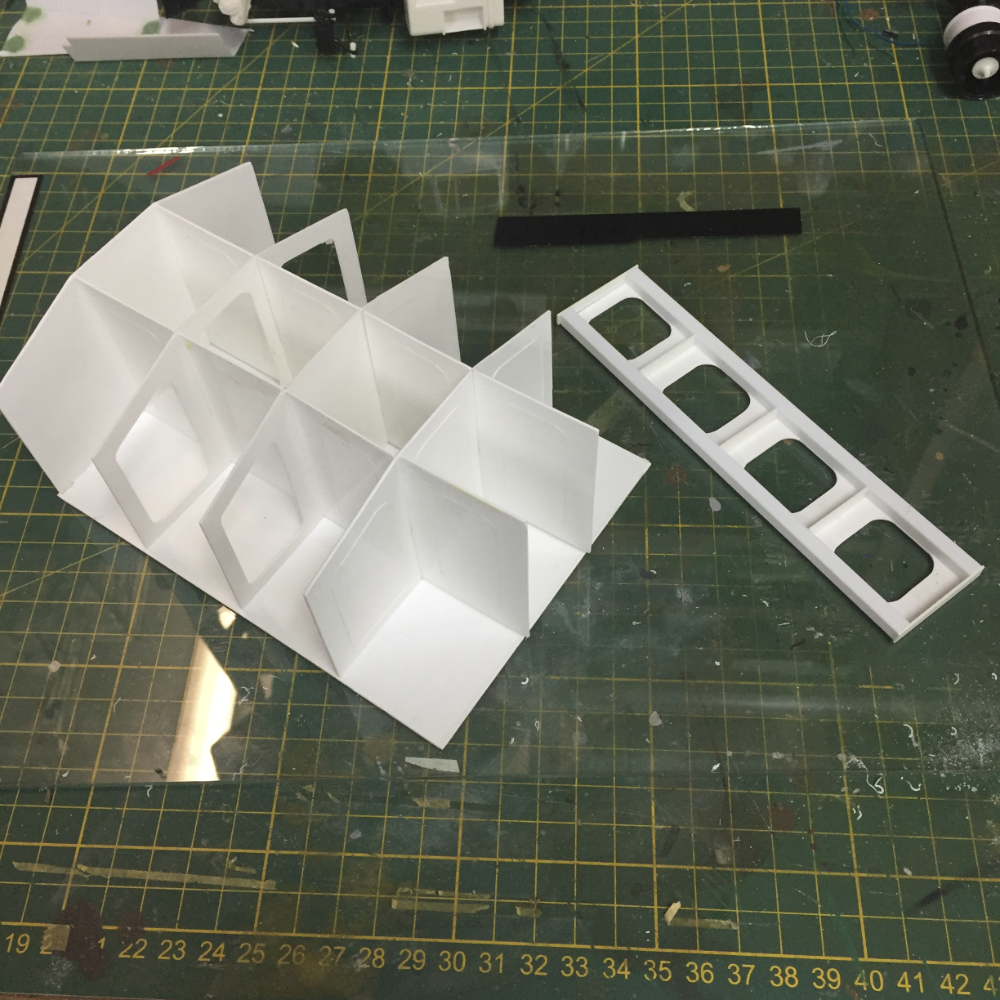
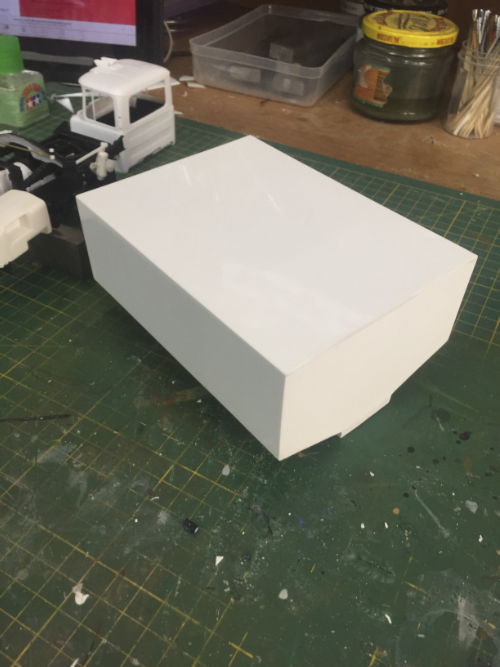
This is the second try, using 1.0 mm styrene that has been hand-cut.
On to the second try. This time I switched to 1.0 mm thick styrene to give a bit more rigidity to the structure. Rather than trying to get the Cricut to cut through the styrene, this time used a lighter setting and let it make a good solid cut that I could then follow with a hobby knife. This approach worked very well. The parts were accurate to within an fraction of a millimeter and the second tank went together straight and true. I also ommitted a lot of unnecesary details, like the holes in the inner braces and the added on bits and pieces.
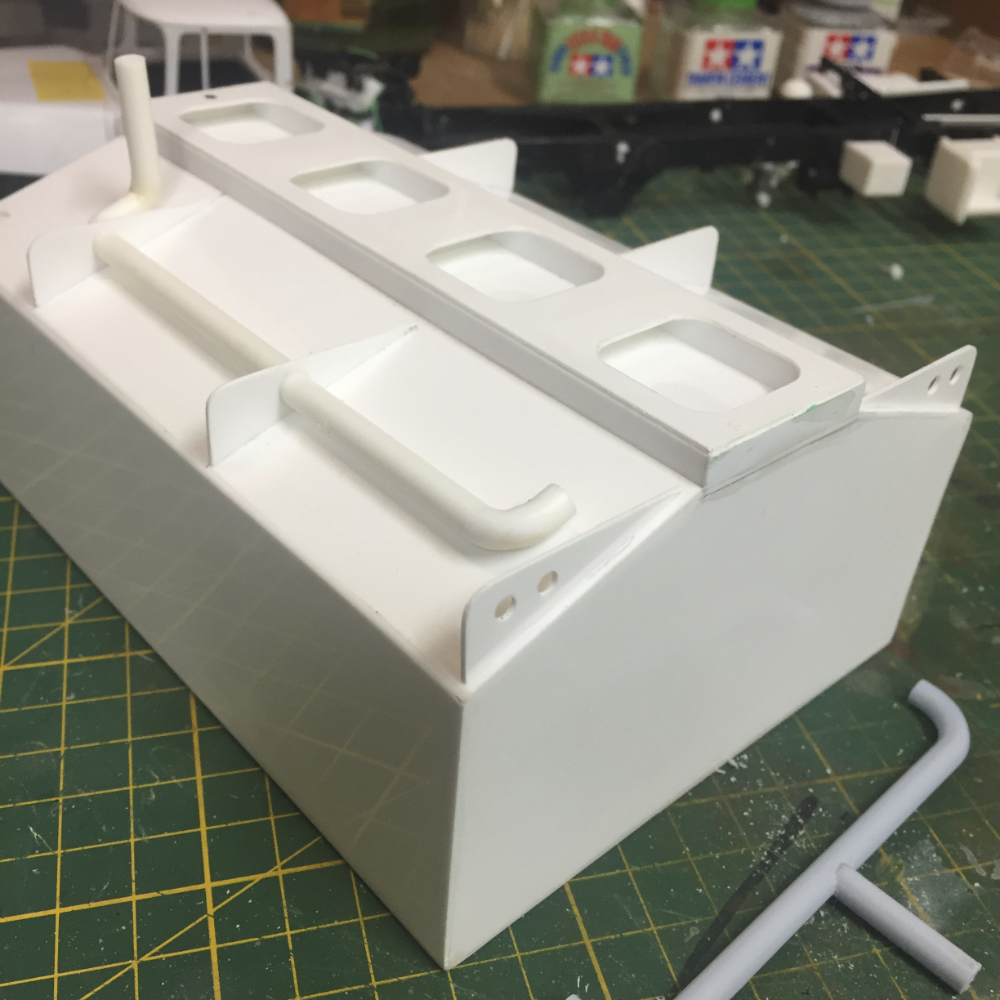
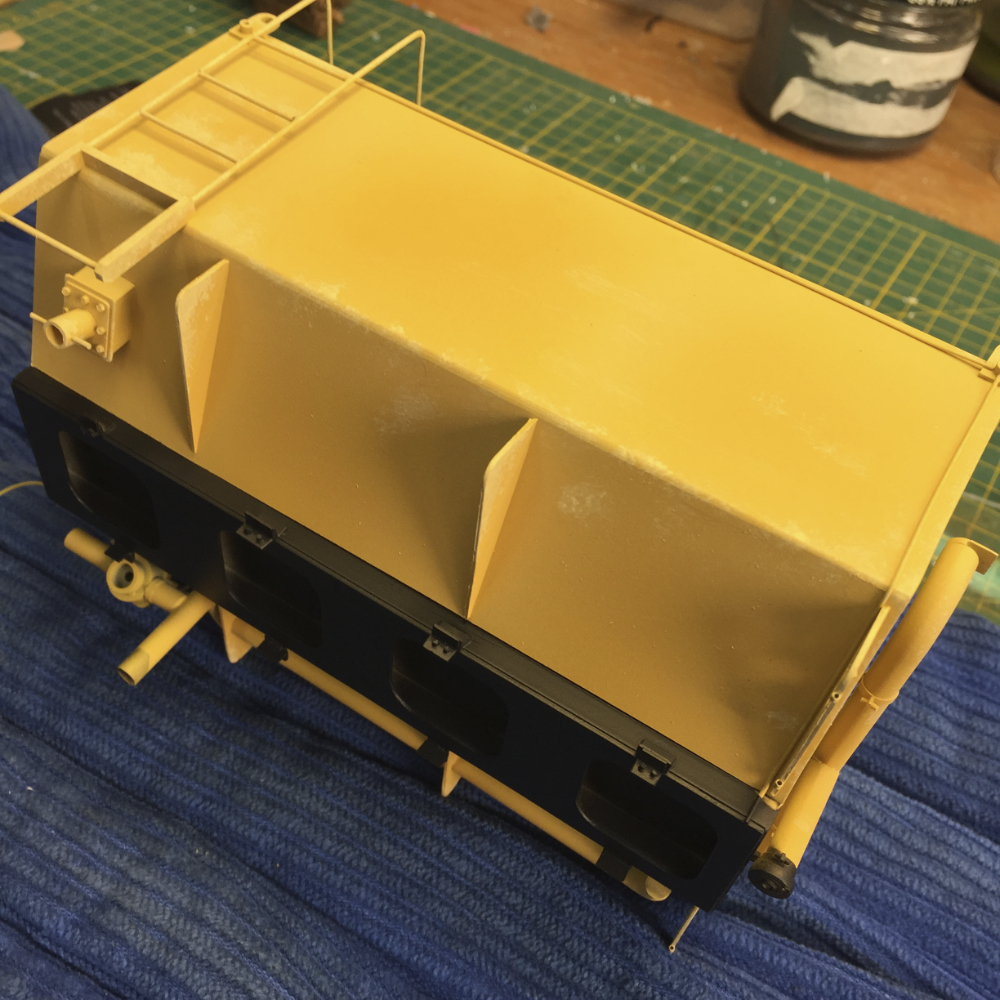
I am calling the structure of the tank done.
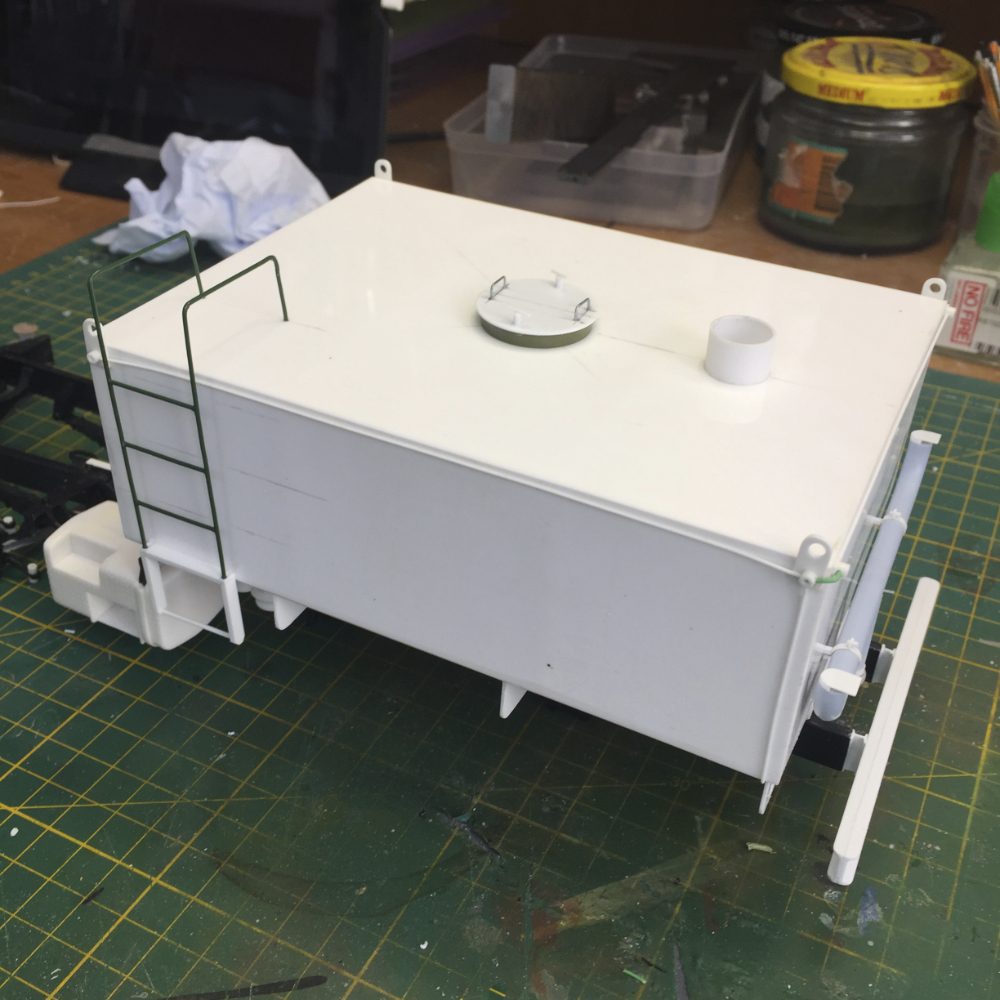
Elecrtric conduit for the top lights is plastic rod.
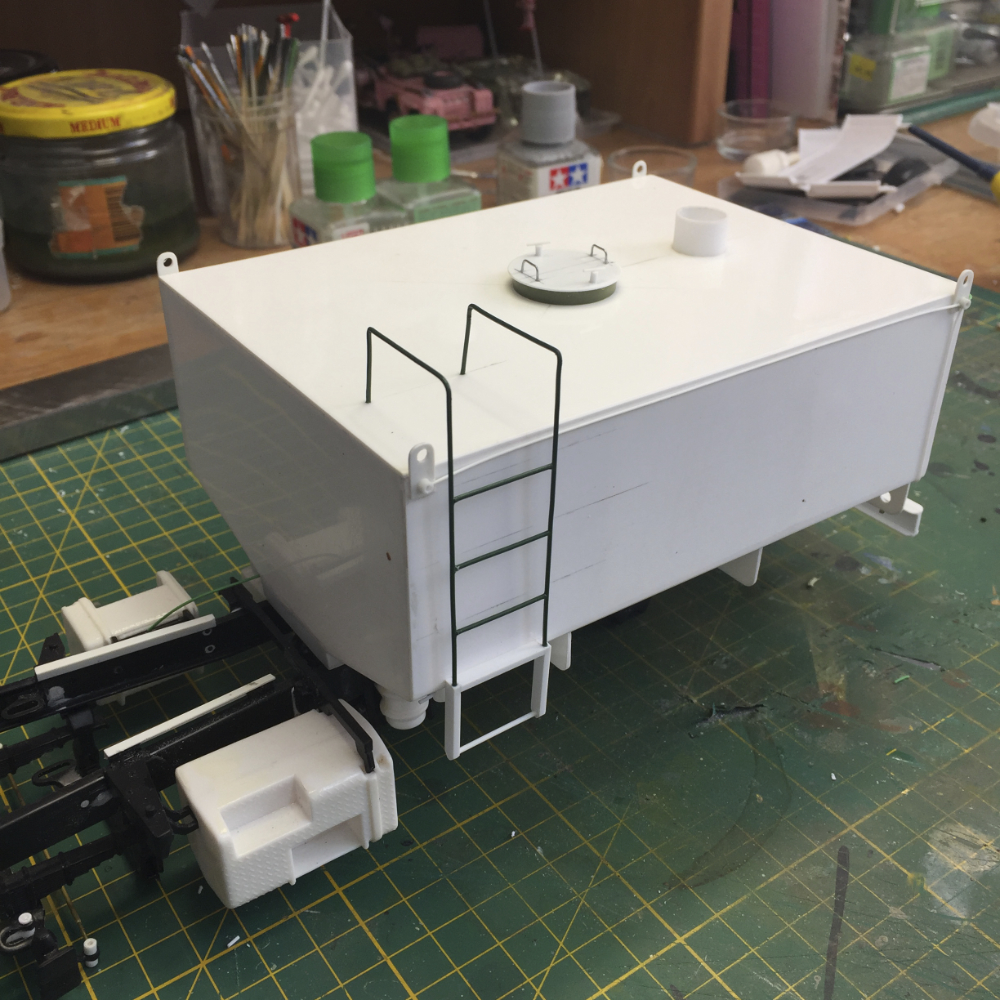
Here you can see the ladder, made from plastic coated florists' wire.
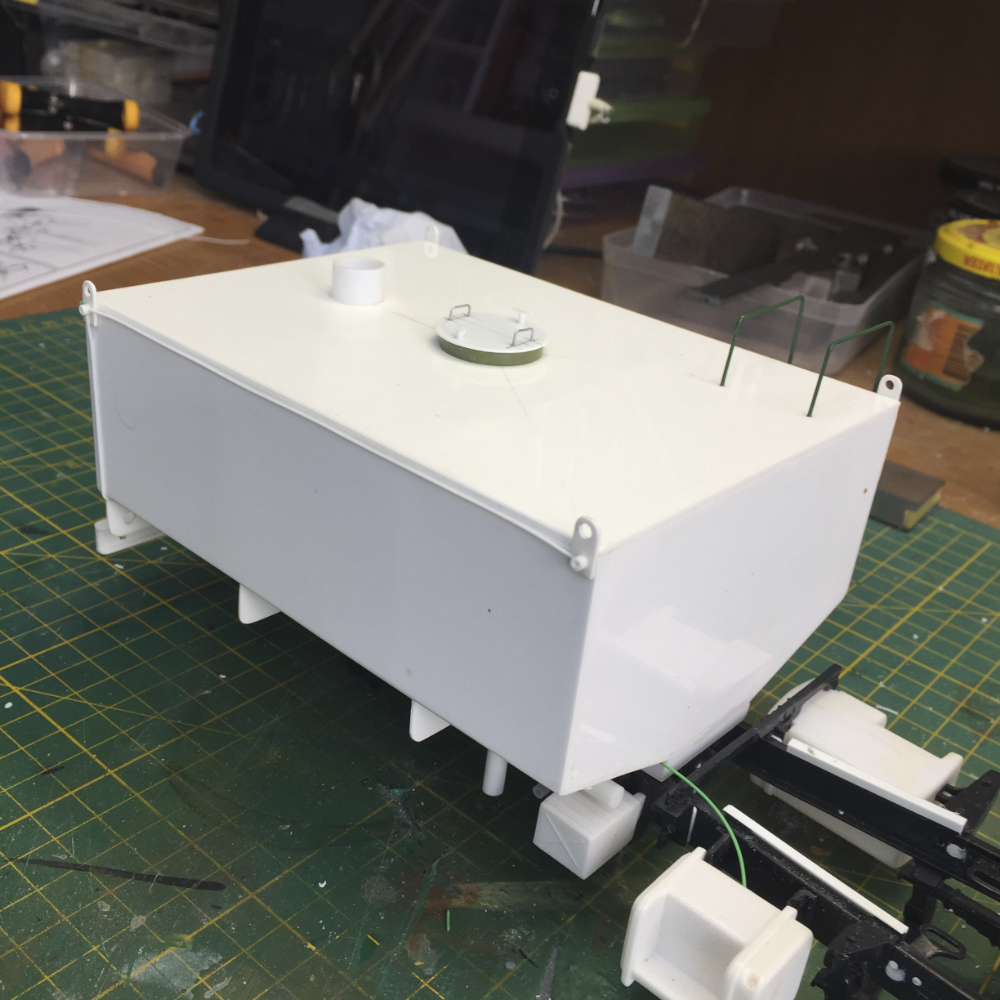
Manhole cover and filler inlet scrathed up from styrene and bits and pieces.
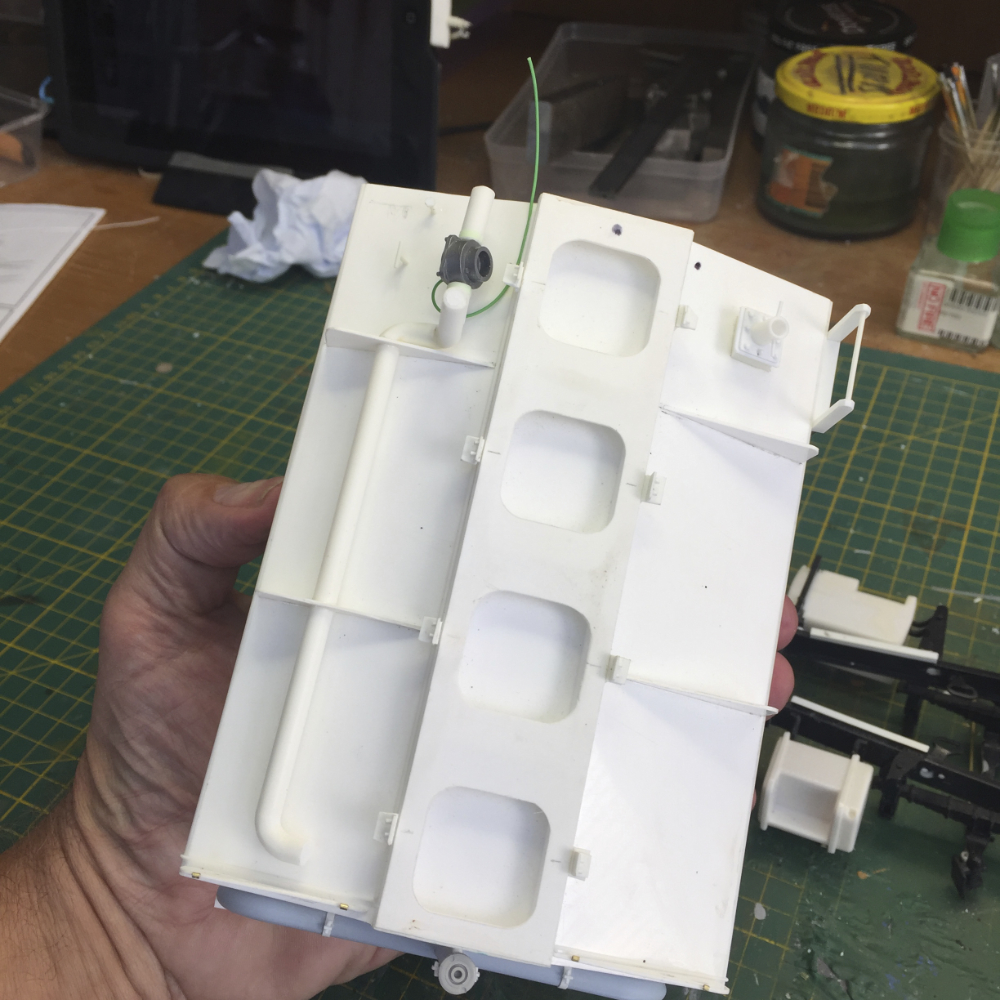
Underside showing the bottom bracing and the main valve. You can also see the fram-mounting lugs and the emptying tap.
On to the painting!
With the structure of the tank complete, it is on to the painting. I am using Mission Models paints quite a bit on this build. I will let you know what I think as I go. Being an impatient person, I sprayed the completed tank with Mission Models grey primer. I have pink on order, but, like I said, I am impatient. I did prep the raw plastic with a scrub with a green scourer and a wipe with isopropyl alcohol. I laid down a thin wet coat to start followed by two thisker wet coats. The primer is nice and hard and smooth.
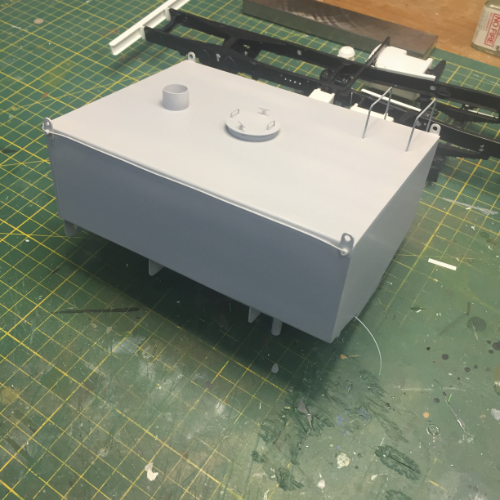
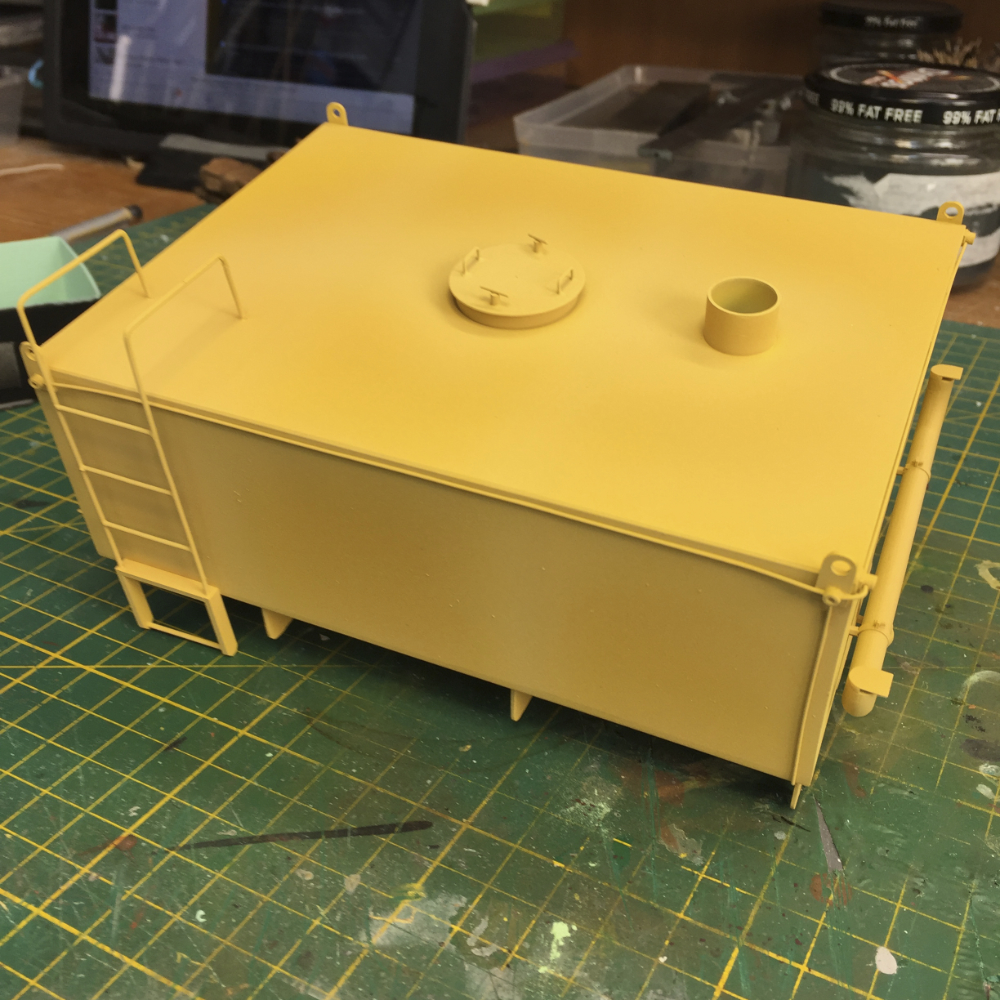
Here's the tank with a good coat of Mission Models grey primer. This is a polyurethane paint that went down well and seems to have good adhesion.
For the main colour of the tank I used Mission Models MMP-126 Farm Tractor Yellow. This looked to be a good match to the original truck. Mission Models paints utilise a proprietary thinner/reducer as well as a poly additive, so the mixing does take three steps rather than the usual two. I mixed around 10:3:3 paint:thinner:poly and I got a good solid colour out of the airbrush. Going down over grey primer did mean I had to lay down three good coats to get decent coverage. I will use the pink primer on the cab and see if it then takes fewer top coats. I bought a set of MMP paints, the construction vehicle set, as it had colours that will be good for topcoat, pale scratches and deep scrathes as well as faded areas.
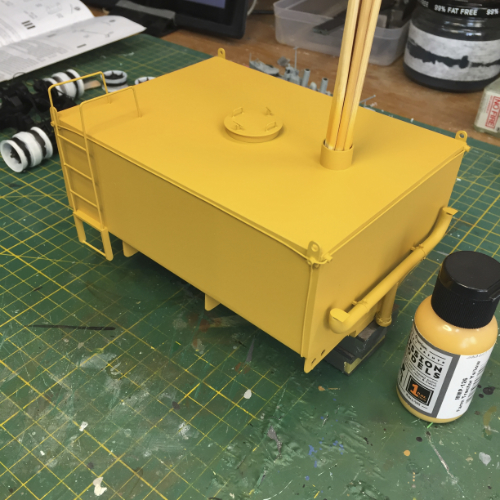
Three coats of Mission Models Farm Tractor Yellow went down over the grey primer.
I always get a kick out of adding wiring. It is one thing that I find really adds to the realism of truck models. Don't try and trace where these wires and hoses go, though! I usually run pipework from an object and then just hide the ends in the chassis somewhere. The object here is to make it look realistically busy.
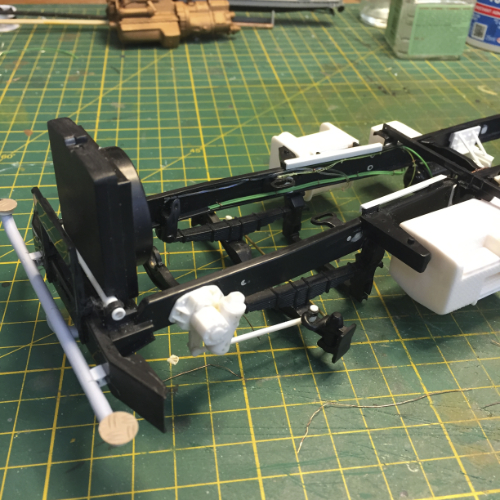
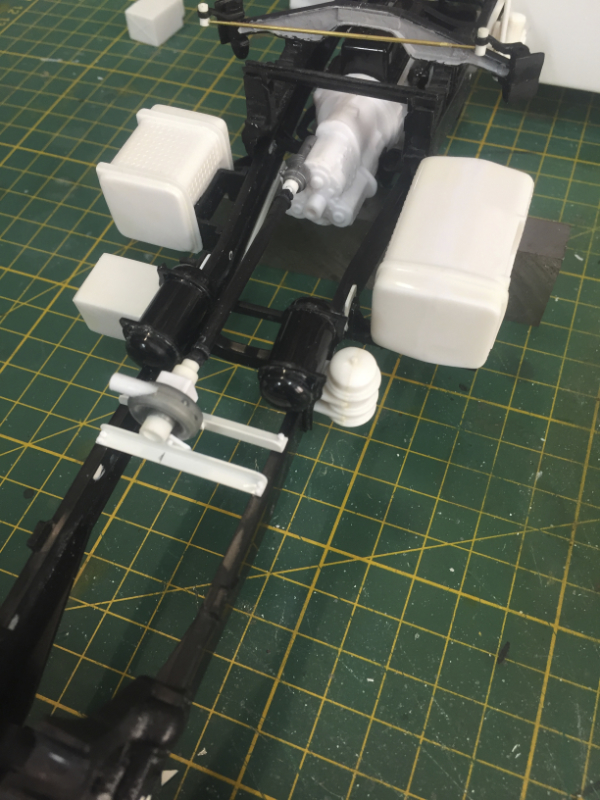
The front of the chassis showing some of my magic disappearing cable work.
The white structure between the chassis rails is the mount for the PTO driven water pump.
Copper wire, phone cables and fishing line all get used to add visual difference. The white styrene rails will hold the cab floor and give me plenty of wiggle-room for when it all comes together.
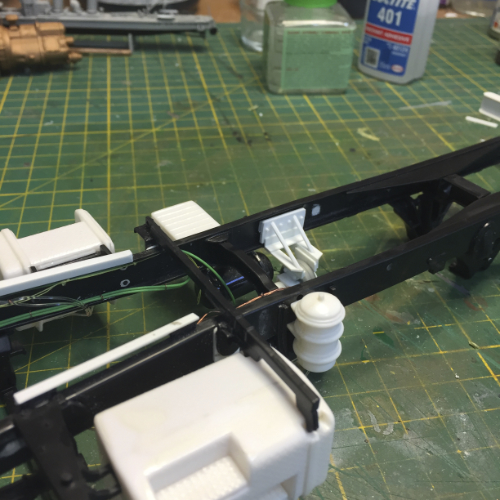
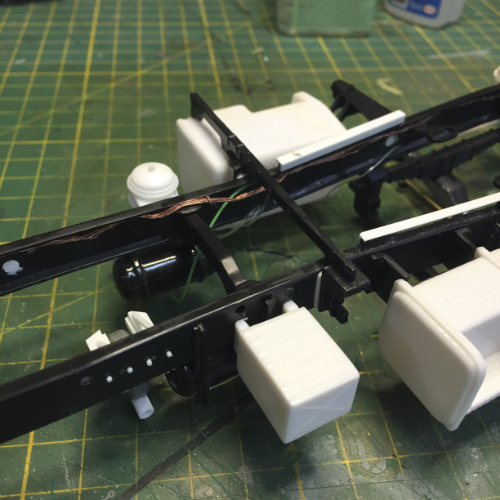
Chassis underside showing fuel lines, air lines and electrical cabling.
The engine I sprayed in metallic gold to emulate a standard Mack colour, metallic without being super glossy or having large metalflake. I have started picking out details in other colours. This will eventually be heavily weathered.
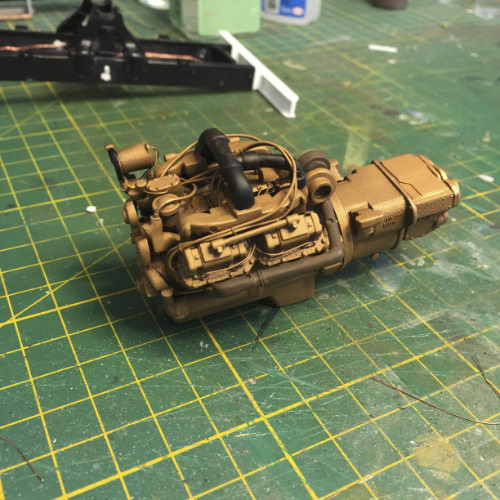
The Mack V8 in an appropriate gold.
One of the more time consuming painting jobs so far has been getting a reasonable demarcation between the white rims and the black hubs. These will be quite heavily weathered, too, so hopefully my woeful painting won't be too obvious!
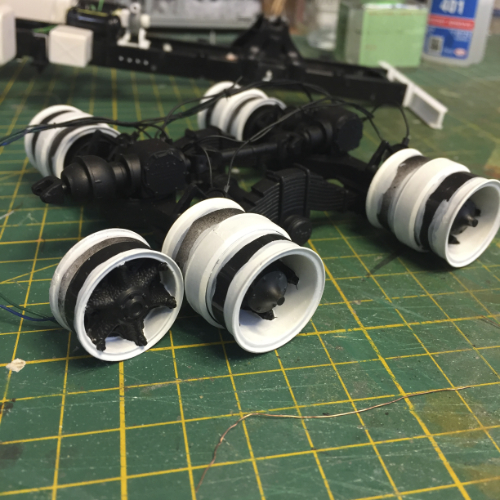
The drive bogie showing the colour-separated wheels.
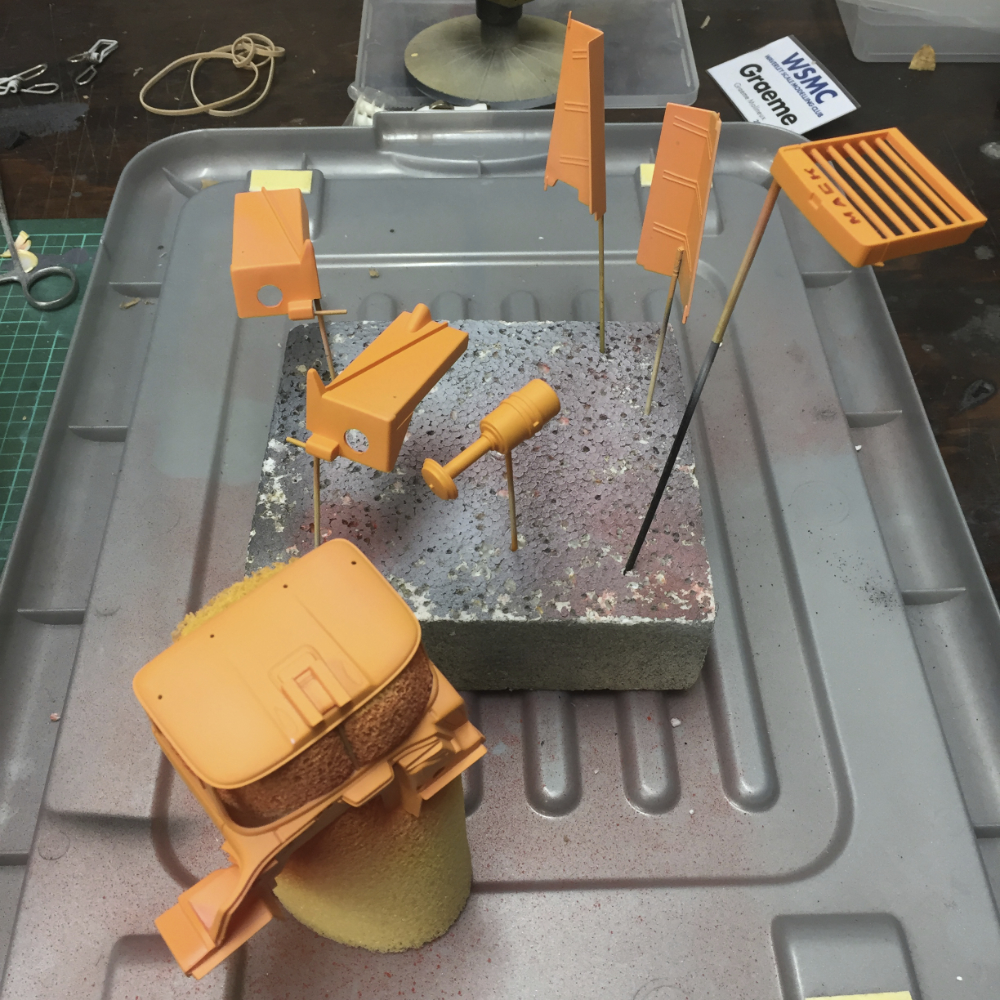
As I mentioned before, I am trying Mission Models Paints on this build. I used the grey primer under the tank and it took a few coats to get a good yellow. This time I am trying the MMS Pink Primer to see what happens.
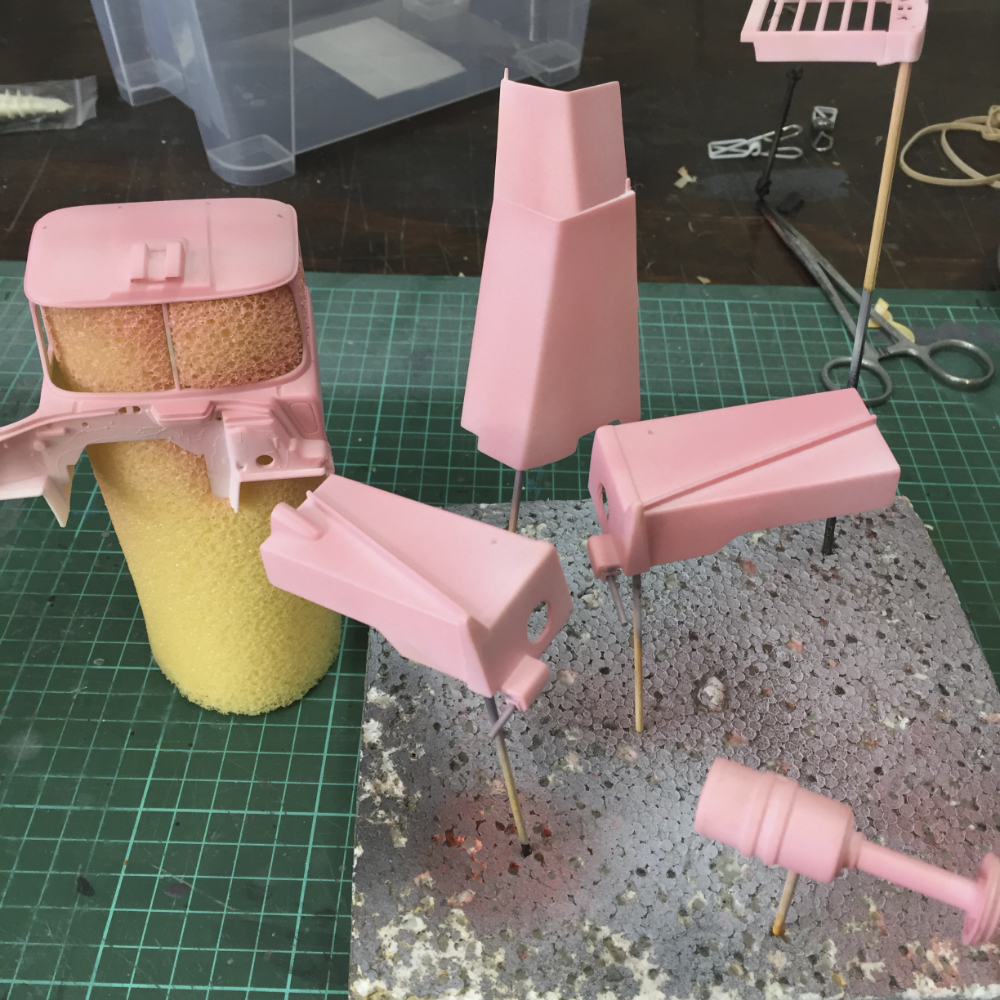
Here's the first coat of the Mission Models Pink Primer on the cab parts.
I mixed up a 50/50 batch of MMS Tractor Yellow and White, thinned it down and sprayed areas on the tank that would have the most fading and wear. It's subtle, but it gives a good effect.
Thinned pale yellow sprayed on high traffic areas.
Using another mix of 50/50 Farm ractor Yellow and White, I applied a bunch of chips and scuffs on all the corners and edges. I also masked and sprayed the lower frame in MMS Black. This is a really solid colour and what you see here was a single coat over the Farm Tractor Yellow. There was not a hint of paint lift or danmage from the Tamiya masking tape, as well. I am becomoing quite impressed with these Mission Models Paints.
Subframe painted black and scuffing added around high-wear areas of the tank..
So .. putting yellow down over pink primer is not working so well. This is a very strong orange! I think I'm going to have to hit the cab parts with white and then go back to the yellow.
Yellow on pink equals orange. You'd think I would have known that.
I thinned down some Mission Models Brown and used a toothpick to apply some chipping. A very Zen hour or so of work! It's looking suitable beaten now.
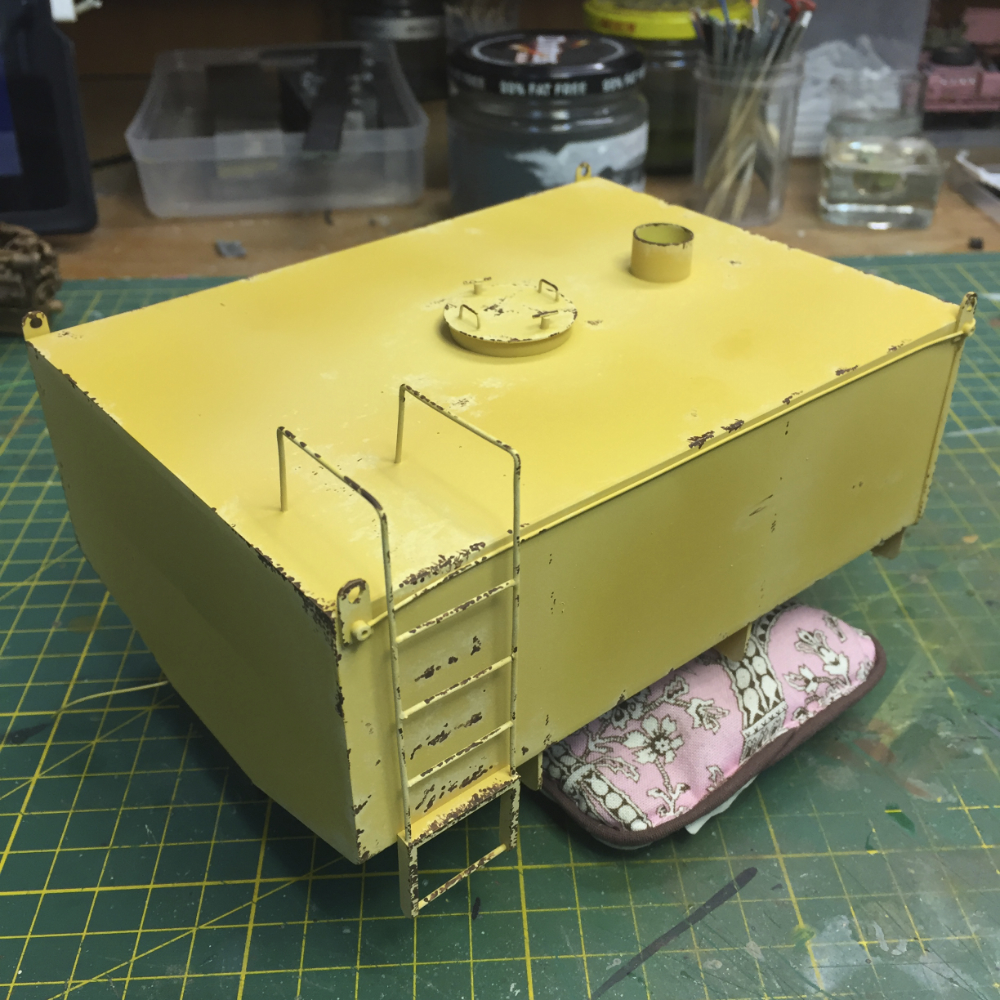
I beat the hell out of the tank.
The cab has now been resprayed with white printer and Mission Models Tractor Yellow. A faded yellow was then spryed strategically to represent sun fading. Pale yellow scuffing was sponged around wear edges, and then dark brown chips hand painted inside the pale yellow scuffing.
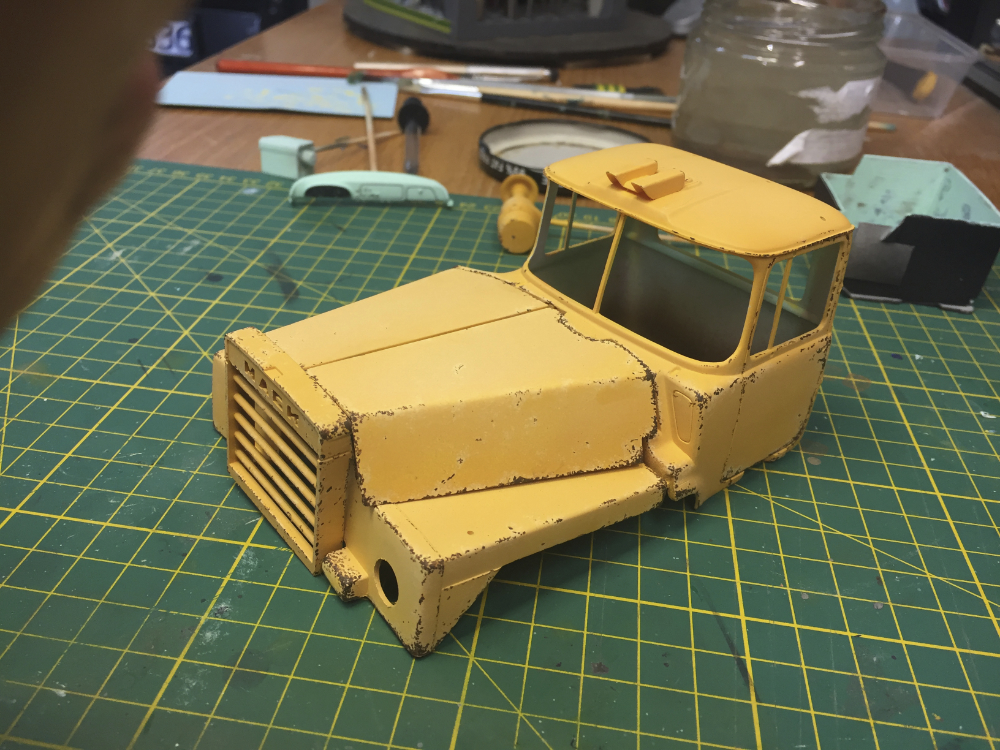
A fairly well-worn cab.
The wheels and chassis got the same treeatment. A black chisel-tip texta supplied the windscreen rubbers.
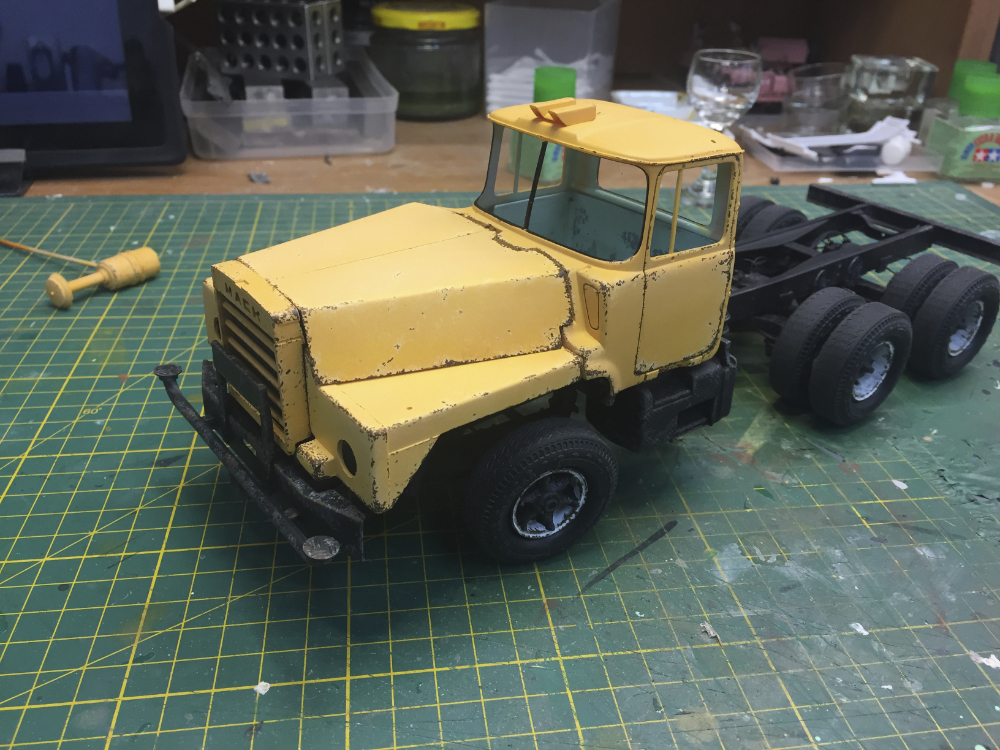
It is looking more and more like a truck!
Go to Scale Modelling from Mack DM800 Build
