Drawing Aircraft:
Step 4, The Details
This is the biggest step of all. It's not any harder, just very time consuming. We now have to do everything we have done to the big bits to every single little bit. All of them. Nuts and bolts, struts, door handles, torque links, blade grips, exhaust pipes etc. etc. etc. If you were thinking about showing the undercarriage, this is where you may have second thoughts. Seeing as I do mainly helicopters, I get to know rotor heads quite well (cue maniacal laughter).
It's "eating the elephant" time - one bite at a time. It is important to tackle this section in a methodical manner. I like to focus on one section at a time, say the rotor head, and then one piece of of THAT at a time, and not stop until I am happy with it. This is largely because I have such a poor memory that if I chop and change I have no idea where I was when I left off. I usually work in one scale, say 1:10 or 1:20. This way you can create separate pieces in individual illustrations and then import the finished part into your master illustration. This can be a terrific help in keeping your file size down and your computer unfrozen. It also helps when you have common items like bombs, wheels or props, you can just go to the digital pantry and pull out the appropriate bone.
I know it seems like a huge task at the moment, but as little pieces turn into subassemblies, and those subassemblies turn into recognisable chunks of your aircraft, it gets easier. Just think of each little piece as an end in itself and make that as good as you can.
As an example, here is how I put together the tail rotor on my sample illustration, an AgustaWestland A 109E. Like the fuselage example from earlier, we start with the linework. This is as complete and accurate as I can reasonably make it before importing it into Photoshop...

Like before, start working from the back. In this case, the hole in the fuselage that the drive shaft pokes through. The bits of the hole are painted ...

... and shaded and highlighted ...
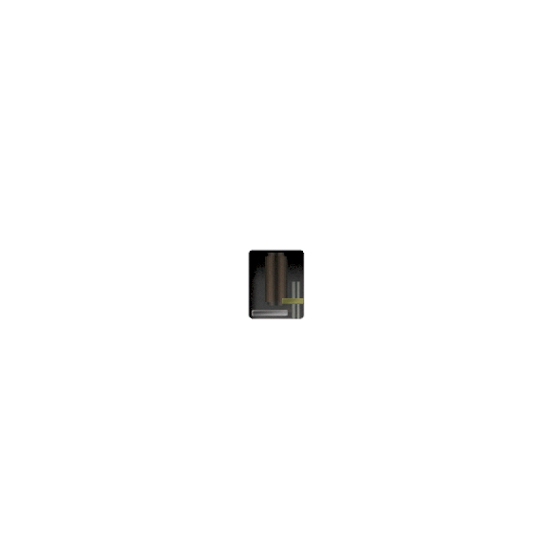
Next came the tail rotor blade roots, which were painted ...
... and shaded ...
... and detail added ...
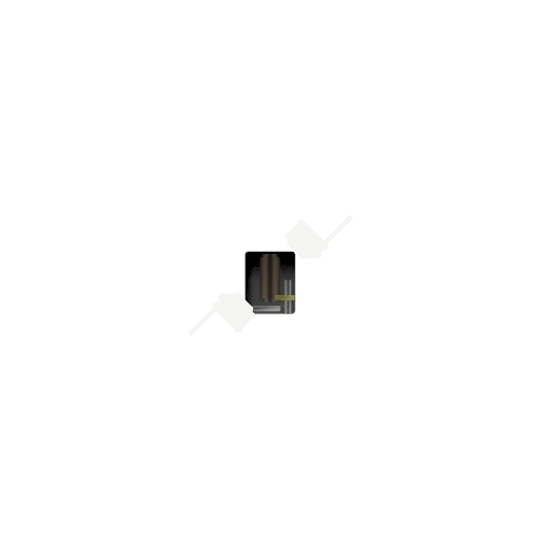
The same treatment was applied to the blades. Paint ...

... followed by shading and highlights ...
... followed by detailing ...
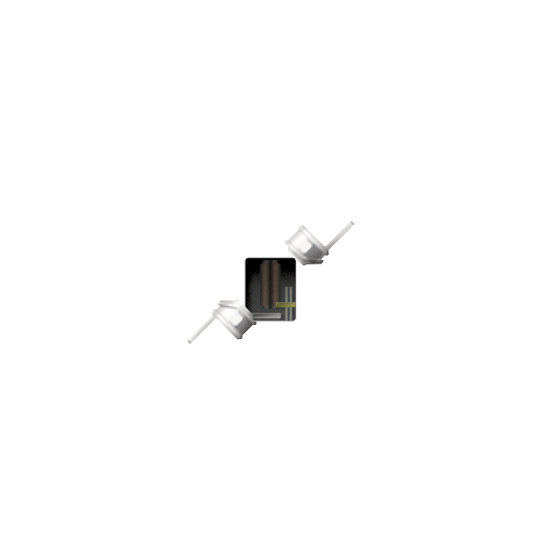
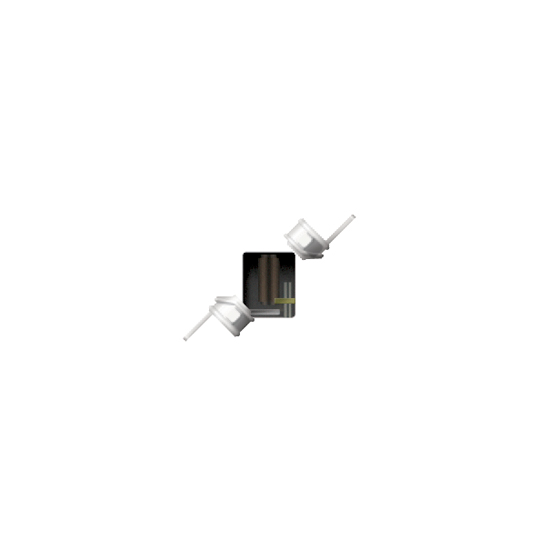
And then the same procedure again for the tail rotor hub details. Paint, shade, details...

Once complete, the subassembly can be included in the main illustration ...
The main rotor was treated the same way (but with a few more pieces) and added ...
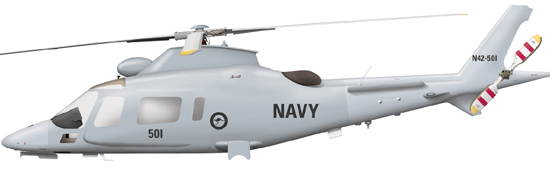
Undercarriage and engine intakes ...
Glasswork ...
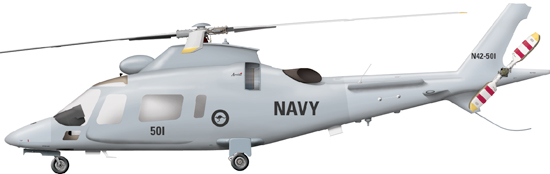
Panel lines and rivets ...
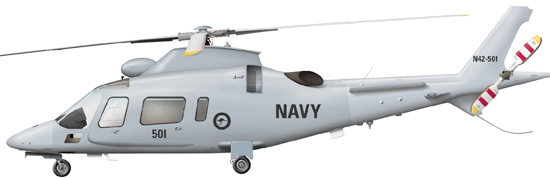
... and all the final bits and pieces like aerials, hinges, catches and stuff ...
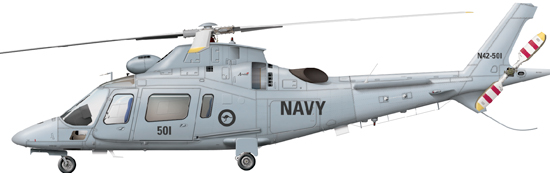
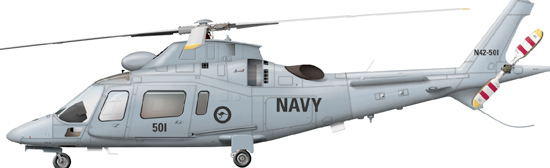
... and toss on a couple of cast shadows from the main and tail rotors and we are done!
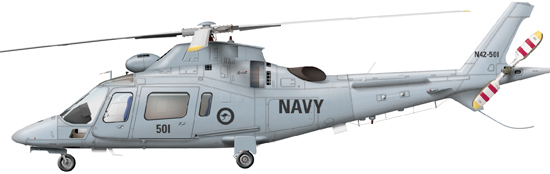
And it is all that easy! Now I think I'll have a lie down.
This is, of course, a very simplified description. Each of these stages can take hours, depending how much you want to put into it. The base illustration for this particular helo took me close to 150 hours. That gives you a bit more of an idea what is involved in producing one of these detailed illustrations.
Nevertheless, I hope this little introduction has whetted your appetite and that we'll see some creations form you in the near future!
Go to Drawing Aircraft from Detail page
