Consolidated B-24
Liberator A72-176
Walkaround Gallery
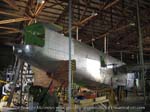
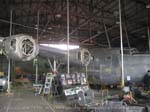
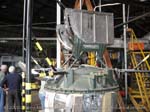
I took the photos for this liberator A72-176 walkaround gallery at Werribee, in Victoria, where it is being rebuilt to static, running condition. The fuselage is the original A72-176, a B-24M that served in the RAAF.
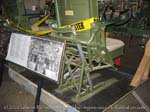
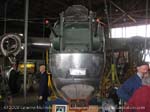
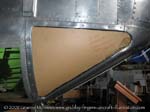
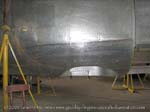
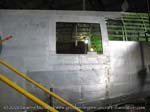
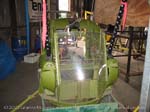
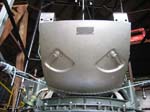
The guys there were most helpful and were quite free with access to the aircraft. This is most refreshing after the usual lack of access to resto projects. If you are anywhere in the area, (actually, even if you are not!) it is well worth the trip to be able to get up so close and personal with such a historic aircraft. The resto is being done in a WWII vintage hangar, as well, so even the building is of interest! There is a rebuilt cackpit section you can have a good look at too. 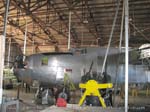 | 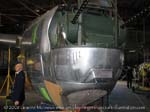 | 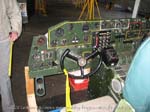 | | Port nose general view. | Detail of the nose panelling. She is an M variant. | Separate restored cockpit display. |
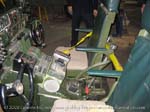
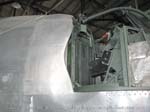
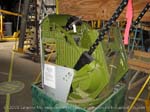
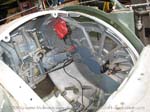
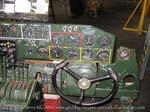 | 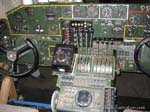 | 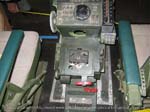 | | Starboard instrument panel. | Centre console. | Rear part of centre console. |
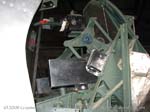
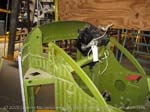
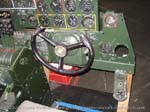 |  | 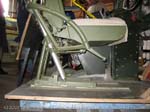 | | Starboard control yoke. | Detail of the seat structure. | Detail of the seat structure. |
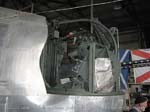
 |  | 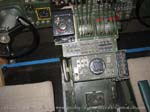 | | Back of control panel. | Back of control panel. | Centre console. |
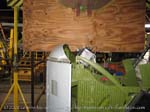
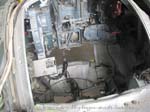
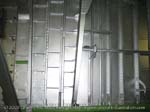
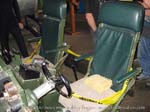 |  |  | | Front of the seats. | General view of the cockpit. | Nose panelling. |
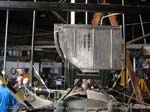
 |  |  | | Nose panelling. Much of this is hand-beaten eplacement parts. | Stbd side of nose. | Stbd side of nose. |
 | 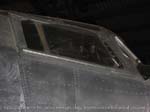 |  | | Stbd side of nose. | Looking upatsbd cockpit window. | Chin glazing. |
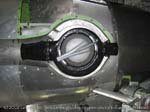
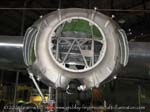
 |  |  | | Nose turret detail. | Nose turret detail. | Nose turret detail. Black chunk is wooden replica machine gun. |
 |  |  | | Nose turret detail. | Nose turret detail. | Wiper drive box under chin. |
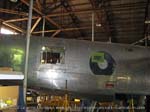
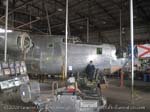
 |  | 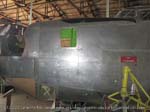 | | Port chin detail. | You can see the turret access doors in this shot. | Port side of nose. |
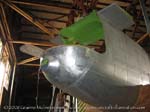
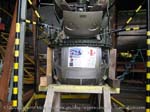
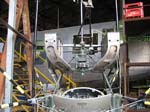
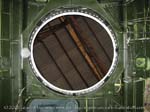
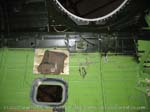
 |  |  | | Demounted nose gear. | This appeture is for the search radar. It's under the port side nose. The forward bomb bay can be seen on the right. | Port side general view. Radar hole can be seen behind cockpit on underside. |
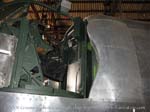
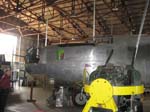 |  |  | | Port nose. | Port inner engine mount. | Outboard view of port main gear. |
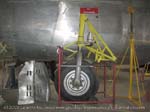
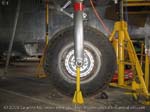
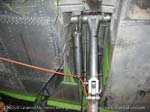
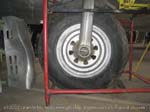
 |  |  | | Port main gear struts. Note red cuff preventing oleo compression. | Port main gear scissor link from front. | Port main gear scissor link from outboard. |
 | 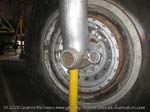 |  | | ort main gear retraction mechanism from outboard. | Inside face of port mainwheel. | Waist gunner's position, port side. |
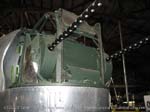
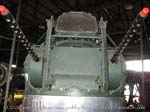
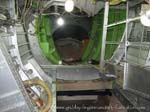
 |  |  | | Waist gunner's position, port side. | Tail urret position. | Extreme tail. |
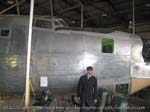
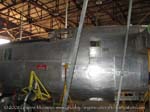
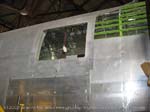
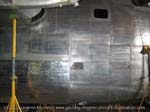
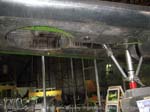
 |  | 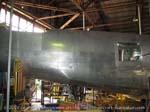 | | Extreme tail. Trailing edge of tailplane is visible. | Overall view of rear starboard side. | Starboard rear fuselage showing gap for tailplane and the waist gunner's position. |
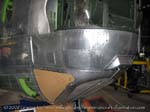
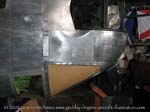
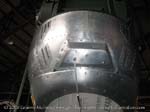
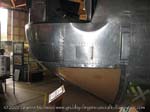
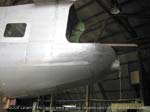
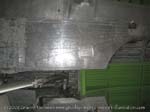
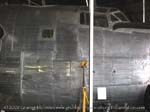
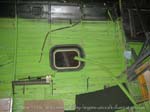
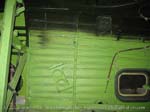
 | 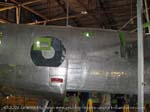 |  | | Starboard mid-rear fuselage. | Stbd side rear fuse. You can se where the wing flaps sit and where the rear bomb doors run. | Under the starboard wing. Front bomb door is in place and half retracted. |
 | 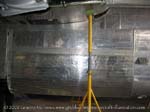 |  | | Under a starboard wing tonight .... | Front bomb door. Note that the door skin is relatively smooth, not corrugated. | Starboard fuse forward of wing. |
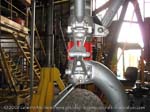
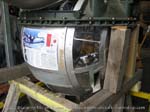
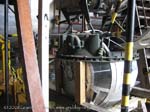
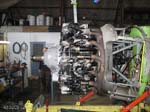
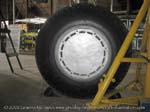 |  |  | | Inboard face of main wheel. | Turbosupercharger on inboard starboard nacelle. Forward is to the right. | Turbosupercharger on inboard starboard nacelle. Forward is to the right. |
 |  | 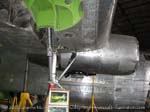 | | Turbosupercharger on inboard starboard nacelle. Forward is to the left. | Inboard starboard nacelle showing engine mount ring. | Inboard starboard necelle from outboard. |
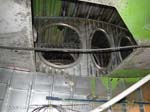
 |  |  | | Starboard main wheel well. | BStarboard main wheel well. | Starboard main wheel well. |
 |  |  | | Starboard main wheel well. | Starboard main wheel well. | Starboard wing trailing edge showing space for flaps. Apparently the outer wings are from a different model and are not correct. I believe there are the correct outer wings available and they will eventually be fitted. |
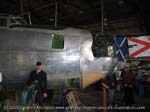
 |  |  | | Overall view from starboard. | Starboard nose. | Starboard nose detail. |
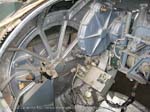
 |  |  | | Tail turret from port side. | Tail turret. | Tail turret. |
 |  |  | | Tail turret gunsight mechanism. | Tail turret gunsight mechanism. | Tail turret from forward showing access doors and control mechanism. |
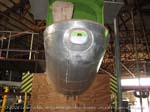
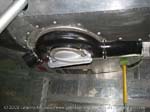
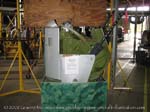
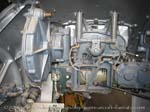
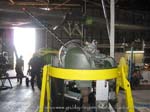
 |  | 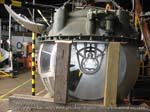 | | Tail turret controls. | Tail turret gunsight. | Ball turret. |
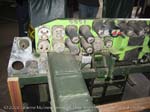
 |  |  | | Ball turret mount and ammo bins. | Ball turret showing access hatch. | Ball turret mount and ammo bins. Note the black scissor link on top to keep everythig lined up. |
 |  |  | | Ball turret ammo bin. | Ball turret. | Ball turret access hatch. |
 |  |  | | Inside the ball turret showing rotation mechanism. Control and firing handles are top centre. | Inside the ball turret. | Inside the ball turret. |
 | 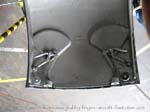 |  | | Ball turret mechanism. | Inside face of the ball turret access hatch. | Ball turret. |
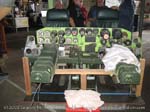
 | 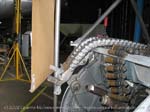 | 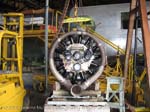 | | Ammo feed chute and disintegrating link .50 cal belt on spare ball turret. | Ammo feed chute and disintegrating link .50 cal belt on spare ball turret. | Rear face of Pratt & Whitney R-1830-65 Twin Wasp 14 cylinder radial engine. |
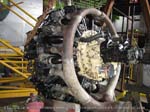 |  | 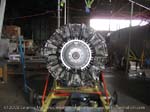 | | 3/4 rear face of Pratt & Whitney R-1830-65 Twin Wasp 14 cylinder radial engine. | Front face of Pratt & Whitney R-1830-65 Twin Wasp 14 cylinder radial engine. | Front face of Pratt & Whitney R-1830-65 Twin Wasp 14 cylinder radial engine. |
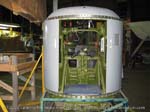
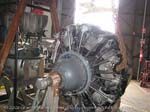
 |  |  | | Side of Pratt & Whitney R-1830-65 Twin Wasp 14 cylinder radial engine. | Looking forward through cockpit area from the radio operator's station. | Upper turret ring. Forward is down. |
 |  |  | | Stbd wall of radio operator's station. | Port wall of radio operator's station. | Port wall of radio operator's station and cockpit. |
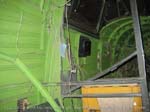
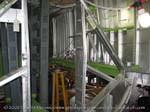
 |  |  | | Stbd wall of radio operator's station and cockpit. | Port wall of radio operator's station. | Looking rearward from radio operator's station at main spar box. |
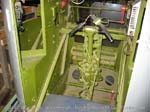
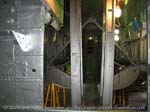
 | 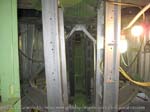 |  | | Rear stbd side of radio operator's station. | Bomb bay looking rearward. | Bomb bay looking rearward. |
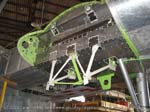
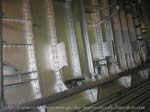 | 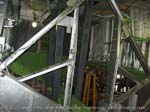 |  | | Stbd wall of bomb bay. | Main brace between fore and aft bomb bays looking rearwards. | Main brace between fore and aft bomb bays looking rearwards. |
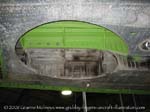
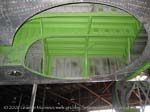
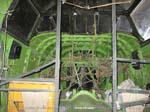
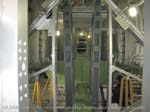
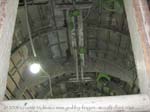
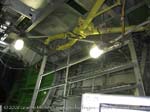
 |  | 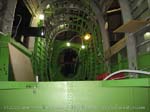 | | Looking up into wing centre section from bomb bay. | Bomb bay wall. | Looking toward tail, past the waist gunner positions, from the bomb bay. |
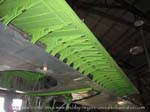
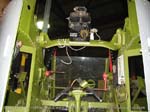
 |  |  | | Roof above waist gunner positions. | Upper turret detail. | Upper turret detail. |
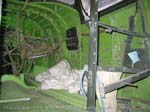
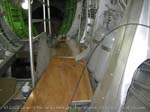 |  |  | | Catwalk inside nose, past nose gear bay. | Looking forward past nose gear bay into bomb aimer's position. | Looking rearward through the bomb bay from the nose compartment. |
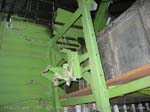
 |  | 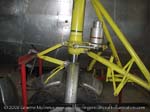 | | Nosegear retraction parts under cockpit floor. Looking forward. | Nosegear detail. | Nosegear detail. |
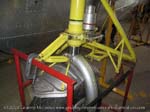 | | Nosegear detail. |
Go to Piston-Prop Walkarounds Page from Liberator A72-176 Walkaround
Go to Grubby Fingers Home from Liberator A72-176 Walkaround page
|


