|
[?]Subscribe To This Site
|
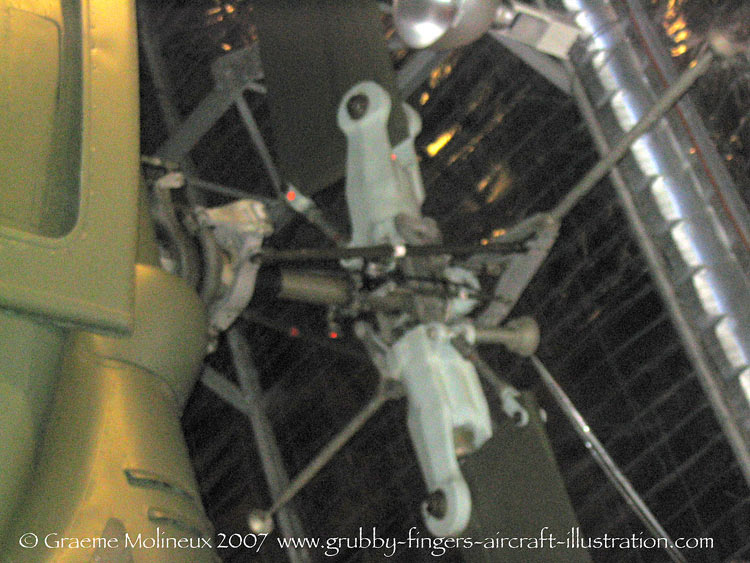
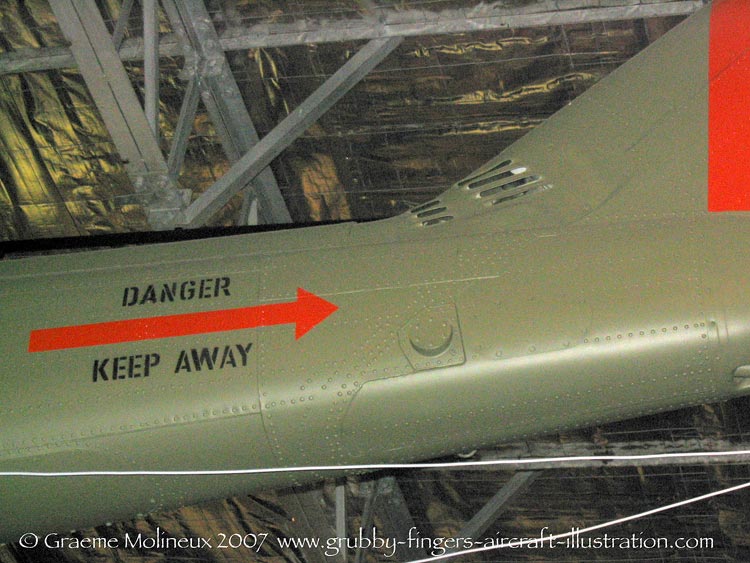
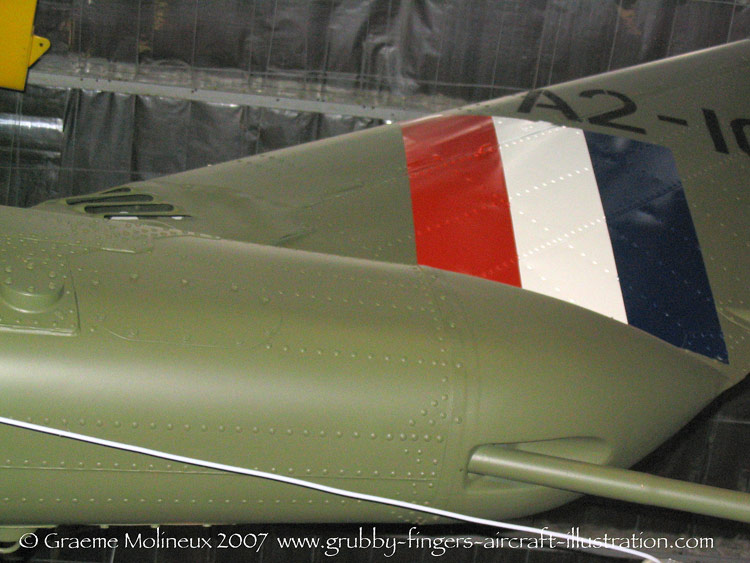
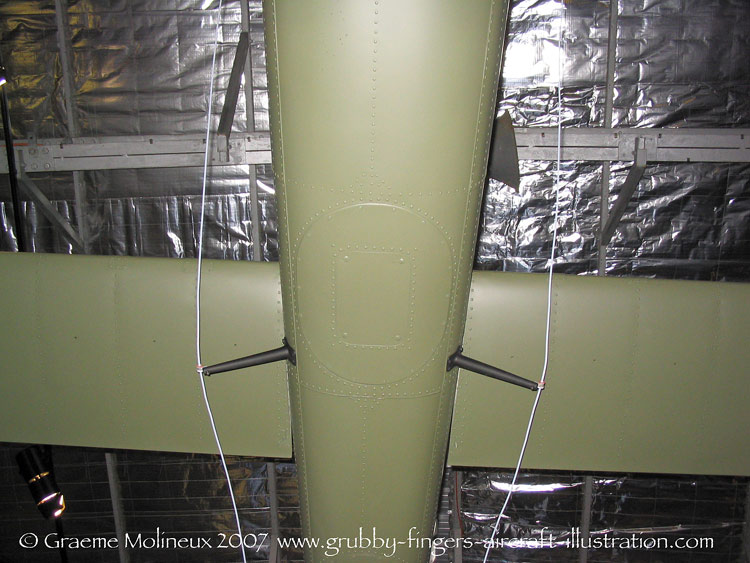
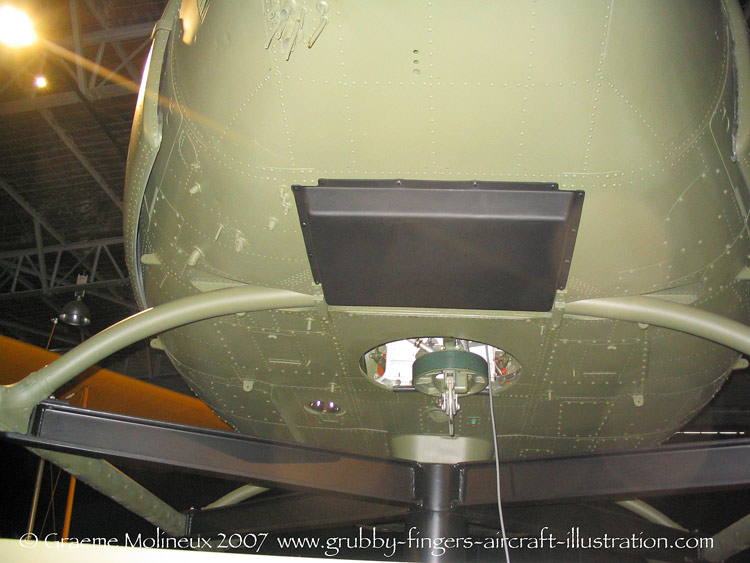
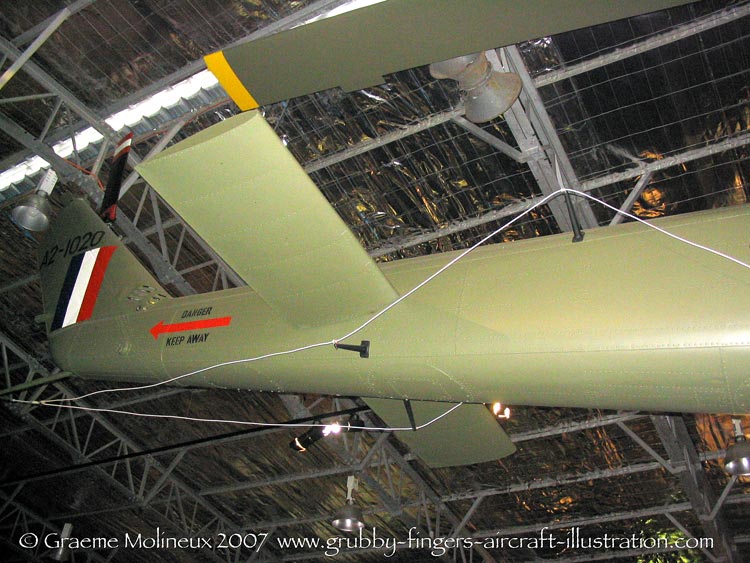
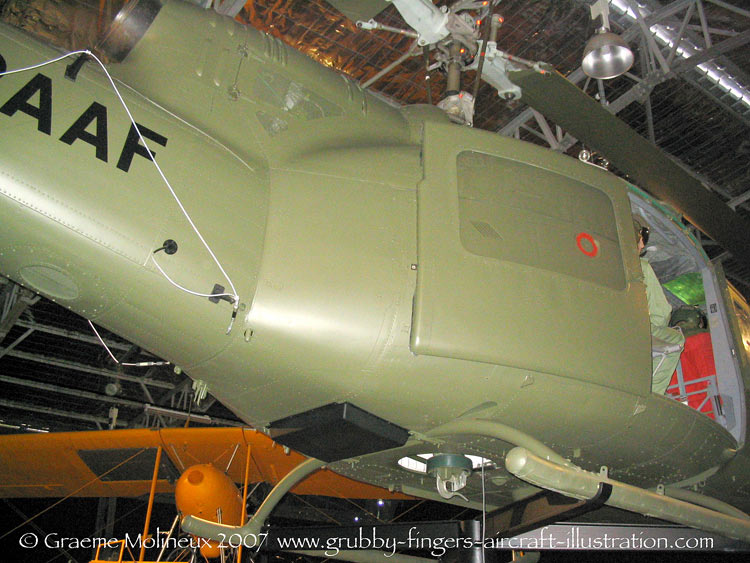
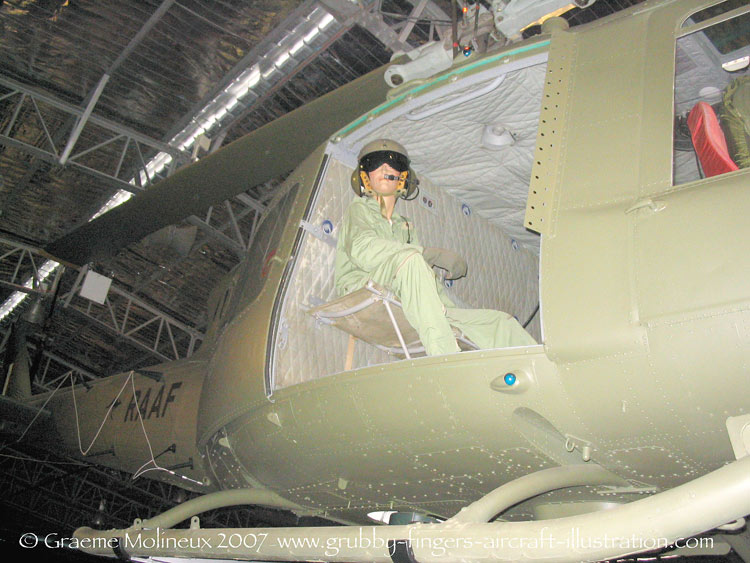
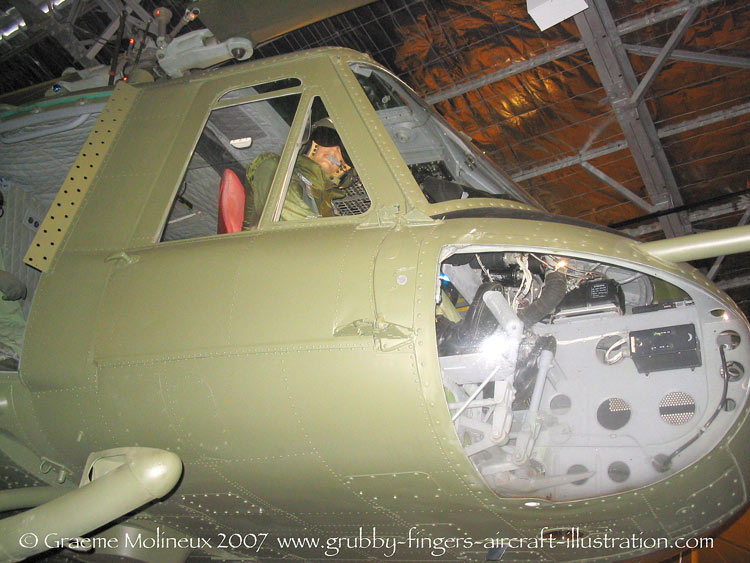
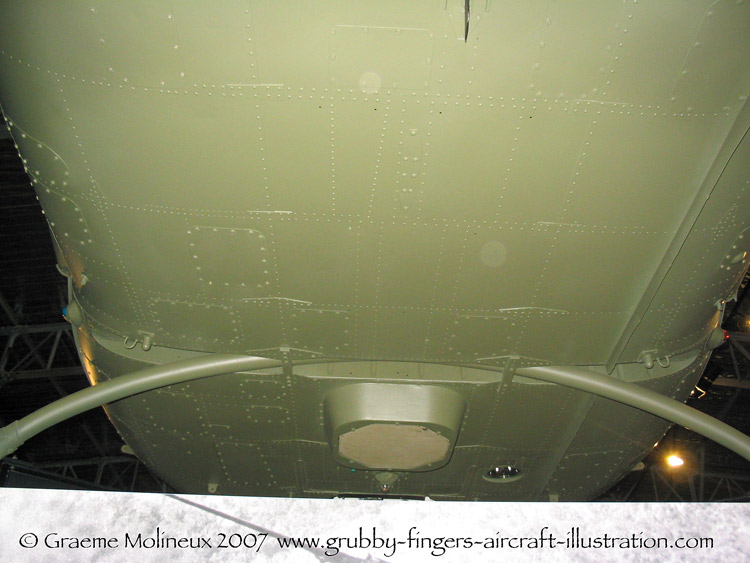
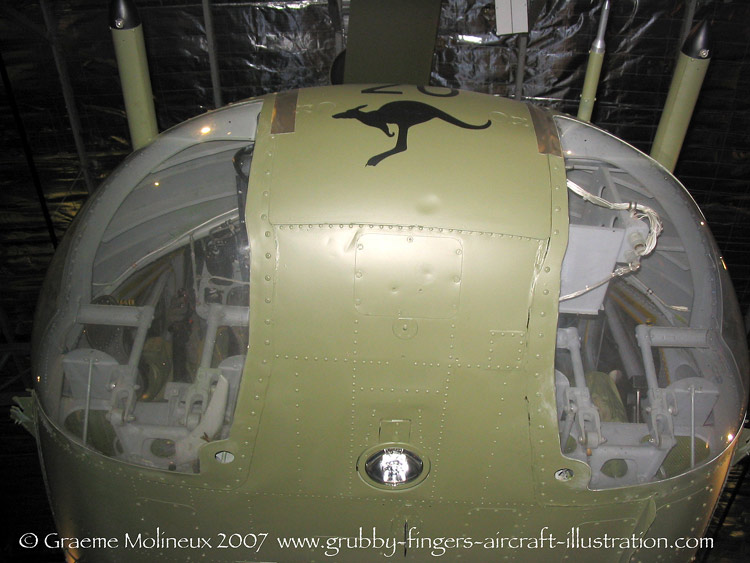
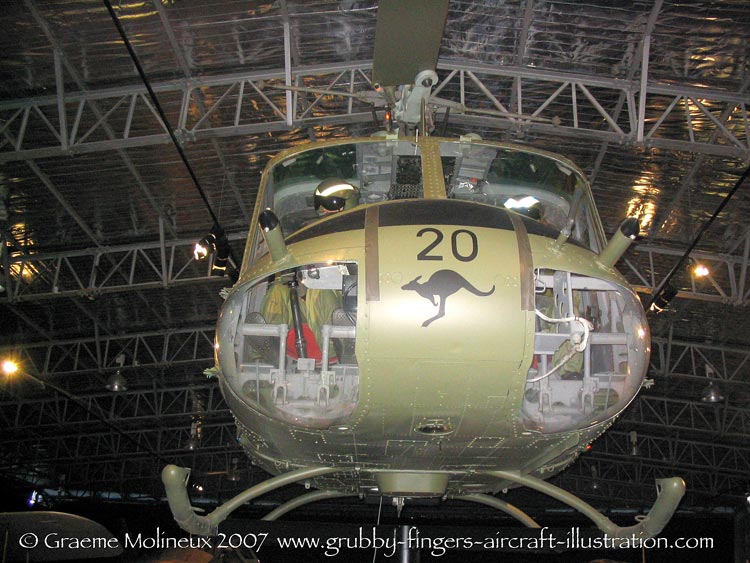
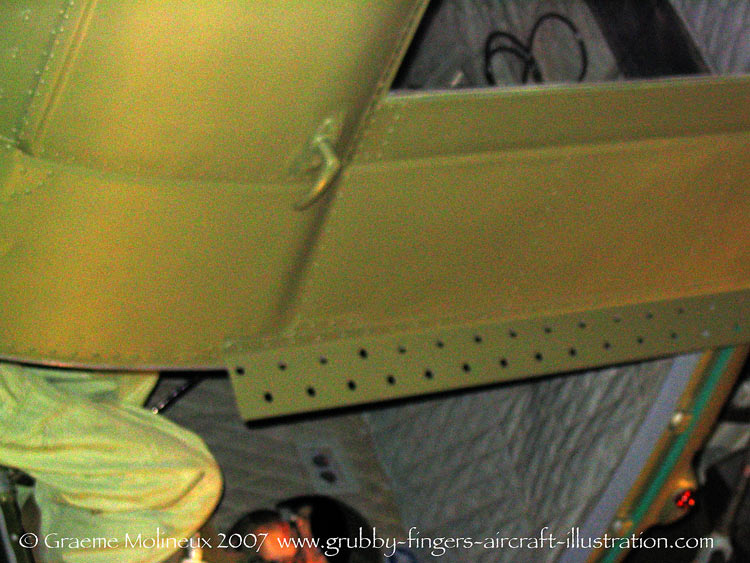
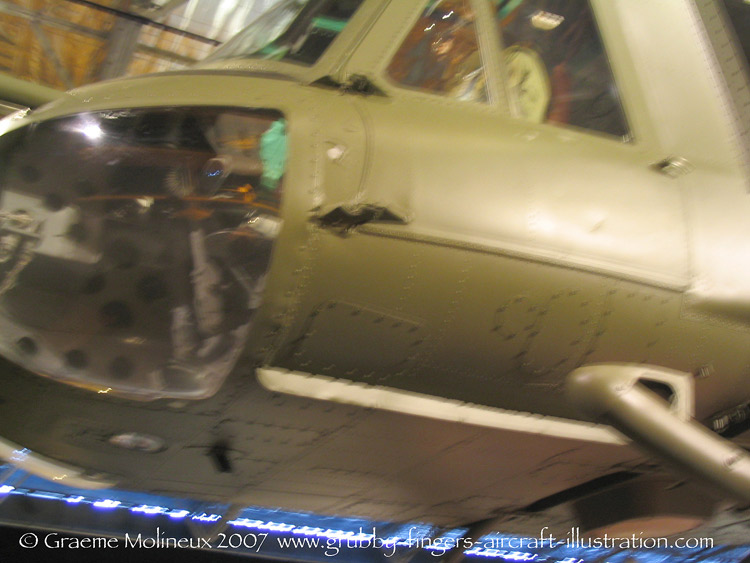
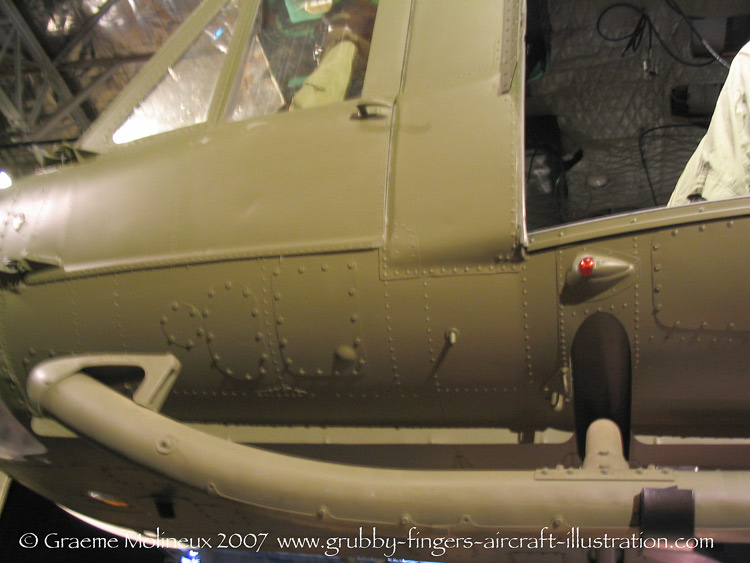
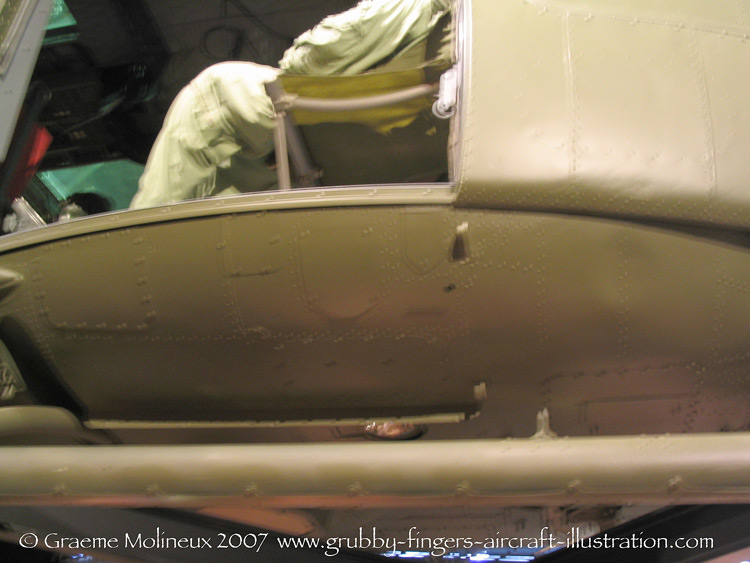
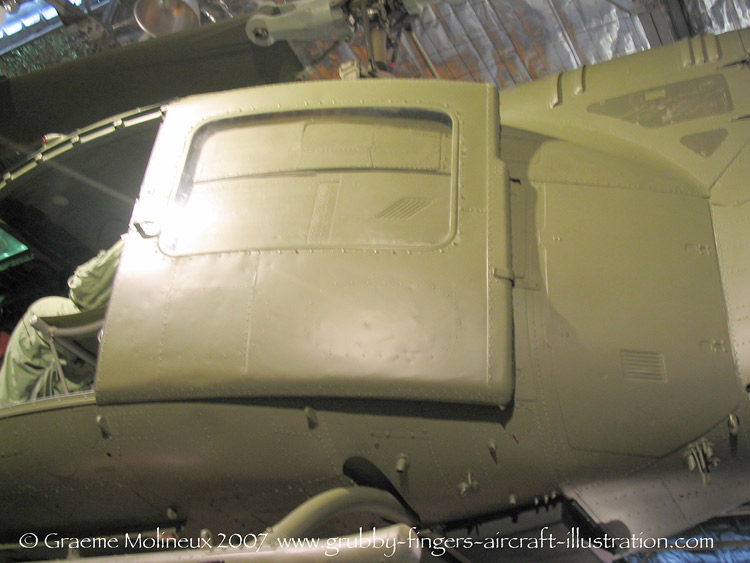
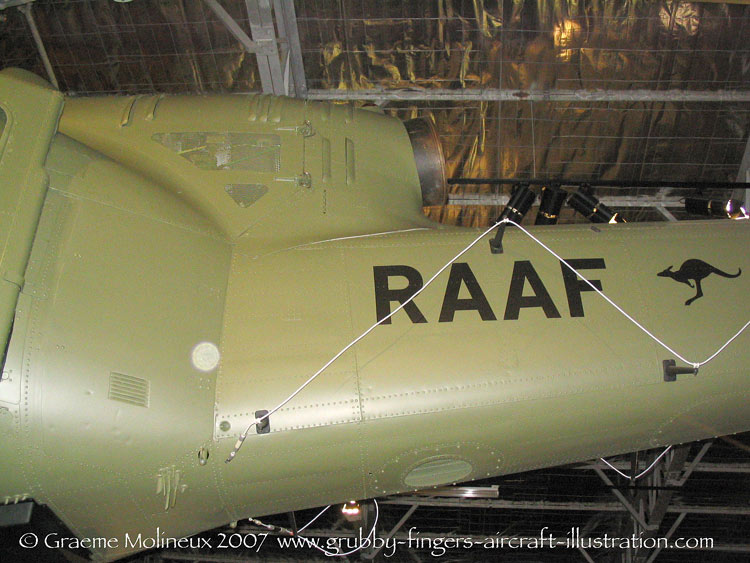
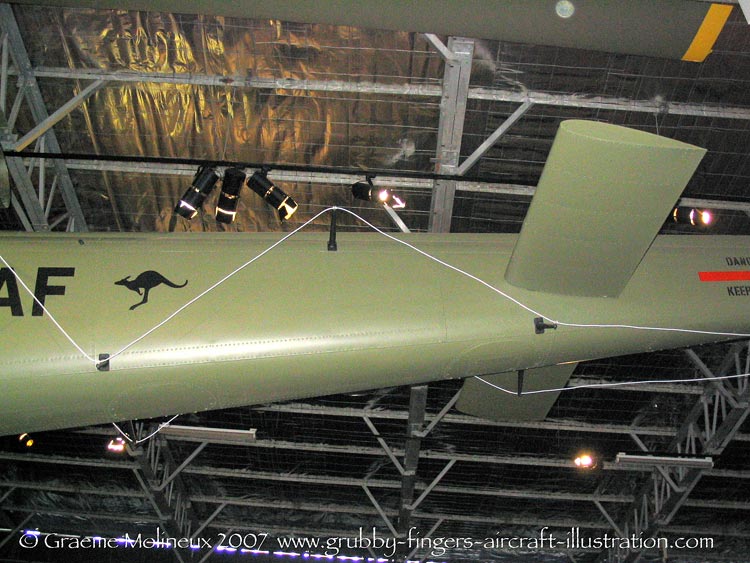
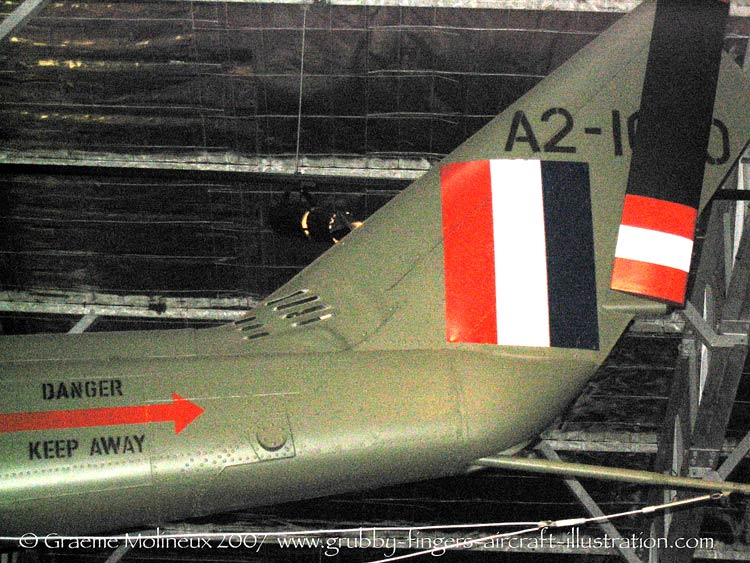
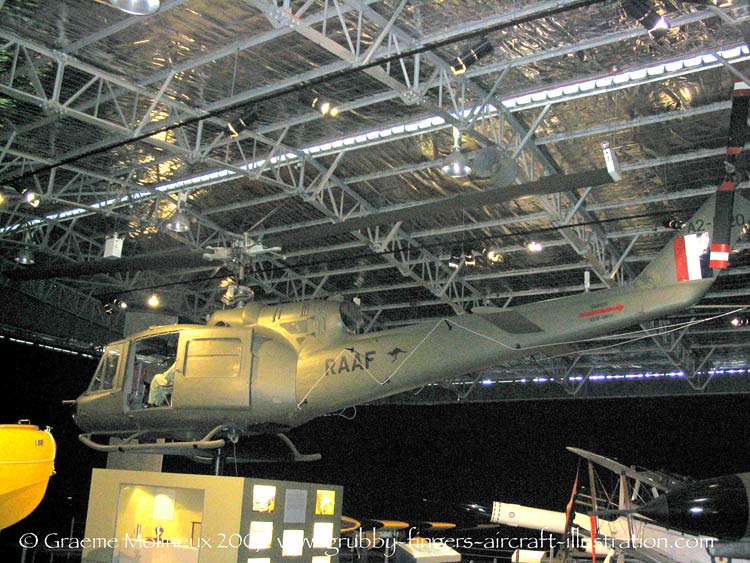
Bell UH-1B Walkaround GalleryThis Bell UH-1B walkaround shows one of the displays at RAAF Museum, Point Cook. It is most dramatically perched up on pillar. Unfortunately for us, it is not brightly lighted so my poor little Canon digi had a bit of trouble coping with the lack of light! Nevertheless, there is still some useful info even on the blurred shots.
Go to Grubby Fingers Home from UH-1B Walkaround Go to Helicopter Walkarounds Page from UH-1B Walkaround References
|